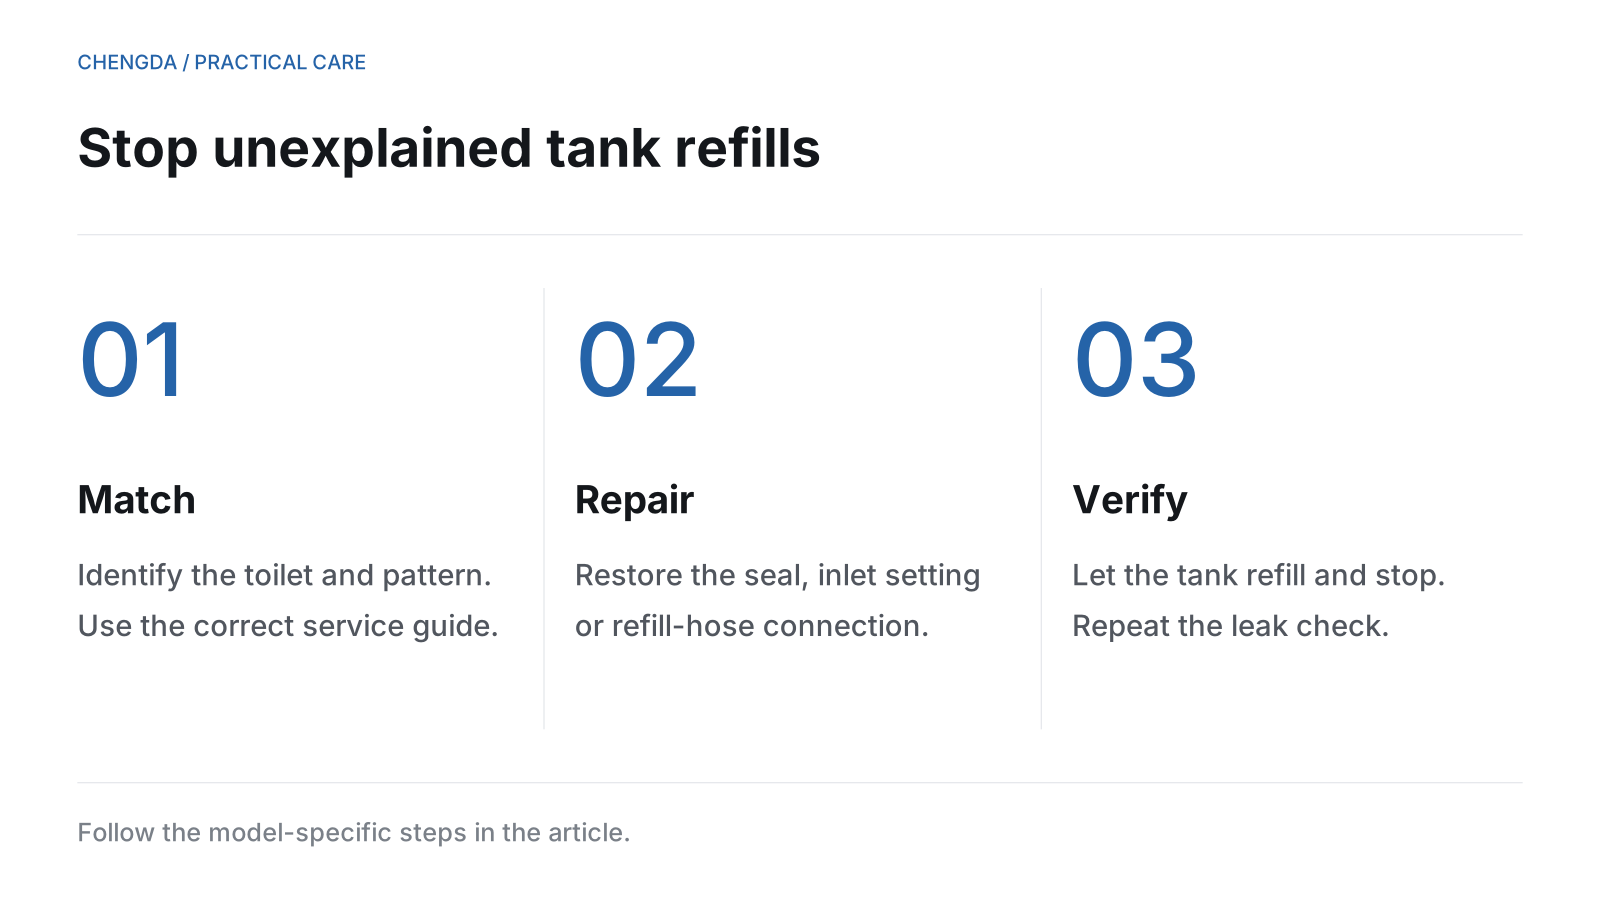
Start with the symptom, then repair the part responsible. A toilet that stops and later refills while unused often needs attention at the flush seal; water continuously entering the overflow points towards the water-level setting or inlet shutoff. A loose refill hose needs a different correction.
The steps below apply to accessible gravity cisterns whose instructions permit owner maintenance. Obtain the toilet and valve model details first. Pressure-assisted, concealed and electronic systems need their own service procedures. For the explanation behind these symptoms, read why a toilet refills by itself.
01 WHAT TO DO
Choose the repair that matches the symptom
Observe a flush before touching the components. If filling stops and the tank stays stable without later refills, that sequence needs no repair. For the following symptoms, use the table to choose where to start; isolate the supply before removing parts as described below.
| What you see | Start here | When replacement is appropriate |
|---|---|---|
| Refills while unused; tank water leaks into the bowl | Free a trapped chain or linkage, clean the accessible sealing surfaces and reseat the flush seal | Replace a worn or damaged matching flapper/seal; a damaged valve seat requires attention to the flush-valve assembly |
| Water keeps entering the overflow | Set the float to the manufacturer's waterline and remove interference with its movement | If the correctly set valve still admits water after the prescribed cleaning procedure, replace the compatible fill valve |
| Handle or button does not return fully | Untangle the chain or refit the button linkage; restore the clearance specified for the model | Replace a damaged control with its matching service part if adjustment cannot restore free movement |
| Refill hose is loose or incorrectly positioned after service | Refit its intended clip or reconnect the designated canister port | Replace a broken clip or damaged hose with the specified part; do not improvise its routing |
02 WHAT TO DO
Prepare the tank before removing anything
Photograph the original layout. Close the toilet's accessible supply valve, then flush to lower the tank water. Confirm that it is no longer refilling. Remove the lid according to its instructions—some buttons connect to it—and place it on a protected, stable surface. Remove remaining water only as required for the planned work.
Keep the supply off before removing a seal, valve cap or connection. If a manufacturer's flushing procedure later calls for briefly restoring water, follow that exact sequence. Do not force a seized shutoff or continue if it does not isolate the supply. Sterling's owner guide illustrates isolation and careful lid handling before seal service; its canister release mechanism is model-specific.
03 WHAT TO DO
For intermittent refilling, clean and reseat the flush seal
With the supply isolated, access the flapper or removable seal as the manual permits. Remove visible debris from the seal and the surface it closes against using the manufacturer's cleaning method. Refit it flat and correctly aligned. Do not add weights or force the mechanism closed to compensate for a poor fit.
Replace a torn, distorted or deteriorated seal with the part specified for the flush valve. If a correctly fitted seal still leaks, examine its mating surface. A cracked or damaged valve seat may require replacement of the flush-valve assembly; another rubber seal alone will not repair that surface. Korky's repair guidance distinguishes these cases. Assembly replacement can require tank removal, so arrange installation help if the manual exceeds your maintenance skills.
04 WHAT TO DO
Make sure the handle or button lets the valve close
Unhook a tangled chain from surrounding parts and reconnect it at the prescribed point. Adjust it to the manufacturer's slack setting so it neither holds the flapper open nor falls into the sealing opening. Do not copy a chain length from a different toilet. Kohler's intermittent-running guidance identifies linkage adjustment as a possible remedy.
On push-button models, reseat displaced rods or cables in their intended connections and use the stated clearance adjustment. Refit the lid and confirm the buttons release freely; testing only with the lid removed can miss interference. Do not cut rods unless the exact installation instructions require it. A broken or binding control that cannot be adjusted needs the matching replacement mechanism.
05 WHAT TO DO
For overflow, correct the water level before replacing the inlet
Use the float adjustment provided by the installed fill valve to restore the tank's specified waterline. Follow its adjustment instructions and ensure the float moves without touching a hose or other component. Reopen the supply for the prescribed check: filling should stop at that level, without continuing into the overflow.
If it will not shut off, isolate the supply again. For a serviceable valve, follow its cap removal, debris flushing and reassembly procedure. If cleaning and correct adjustment do not restore shutoff, replace the fill valve with an approved compatible unit. Kohler's continuous-running guide gives this sequence. Do not block the overflow or use an arbitrary lower water level to hide a leaking flush seal.
06 WHAT TO DO
Restore the refill hose to its designed position
If the hose has slipped, put it back in the specified retaining clip; if the valve uses a dedicated canister port, reconnect it there. Compare the final position with the model diagram. Do not leave the hose loose with its end submerged or push it deeper into a tube as a shortcut.
Replace a failed retaining clip or damaged hose with the specified part. Preserve the designed air gap or port connection, and confirm the hose remains secure during refilling. Kohler's hose-position instructions show why the correct arrangement differs between valve types.
07 WHAT TO DO
Verify the repair with a flush, a dye test and a quiet interval
Reassemble as instructed and reopen the supply. Flush and watch the complete refill: the control should return, the flush seal should close, and incoming water should stop at the specified level. For dual-flush controls, check both modes. Inspect every connection disturbed during the work for external water.
Let normal flushing and refilling finish before testing. Add a couple of drops of food colouring or a suitable leak-detection tablet to the tank. Wait 10 minutes without flushing, then check the bowl for colour. Flush immediately afterward to reduce staining risk. Follow product restrictions. The full-tank starting condition is described by Miami-Dade Water and Sewer; the 10-minute interval comes from EPA WaterSense.
Colour in the bowl means water is still escaping into it. If the test stays clear, also leave the toilet unused through the period when it previously restarted. A single clear test cannot exclude an intermittent fault. Recheck the floor and connections; successful internal sealing does not prove that an external joint is dry.
08 HOW IT WORKS
When the repair needs more than an accessible tank part
Stop using the toilet and isolate its supply if water escapes onto the floor. Seek qualified help for cracked ceramic, inaccessible or leaking supply connections, or a shutoff that will not close. Do not tighten tank bolts harder to chase a leak: Korky warns that overtightening can crack porcelain. Report what you changed and which verification step still fails.
Technical references
- Korky — How to Fix a Running Toilet
- Kohler — Toilet Occasionally Leaking or Running
- Kohler — Toilet Constantly Leaking or Running
- Kohler — Tank Leak: Fill Valve Hose Position
- Sterling — Dual-Flush Toilet Homeowners Guide 1058763-5-A
- US EPA WaterSense — Home Maintenance
- Miami-Dade Water and Sewer — Leak Detection Tips
- Kohler — How to Fix a Running Toilet
- Korky — How to Fix a Leak Between Toilet Tank and Bowl
FAQ COMMON QUESTIONS
Frequently asked questions
Should I replace both valves immediately?
No. Start with the confirmed leak path and the installed parts' condition. Cleaning, correct linkage adjustment or a matching flush seal may solve the problem without replacing the fill valve.
Why does it still refill after a new seal?
Check part compatibility, alignment, control clearance and the valve seat. Also check overflow and refill-hose routing. A new seal cannot correct every path by which tank water escapes.
Can I use a universal tank water level?
Use the waterline and valve settings specified for the toilet. Generic distances below an overflow do not replace the product instructions and can change flushing performance.
Does a clear dye test mean the repair is finished?
It is encouraging, but also confirm normal flush operation, quiet standing time and dry external connections. Intermittent faults may not occur during one short observation.
RELATED · UNDERSTAND THE CAUSE
Why Does a Toilet Refill by Itself? →
Want to understand why it happens? Read the companion explanation.