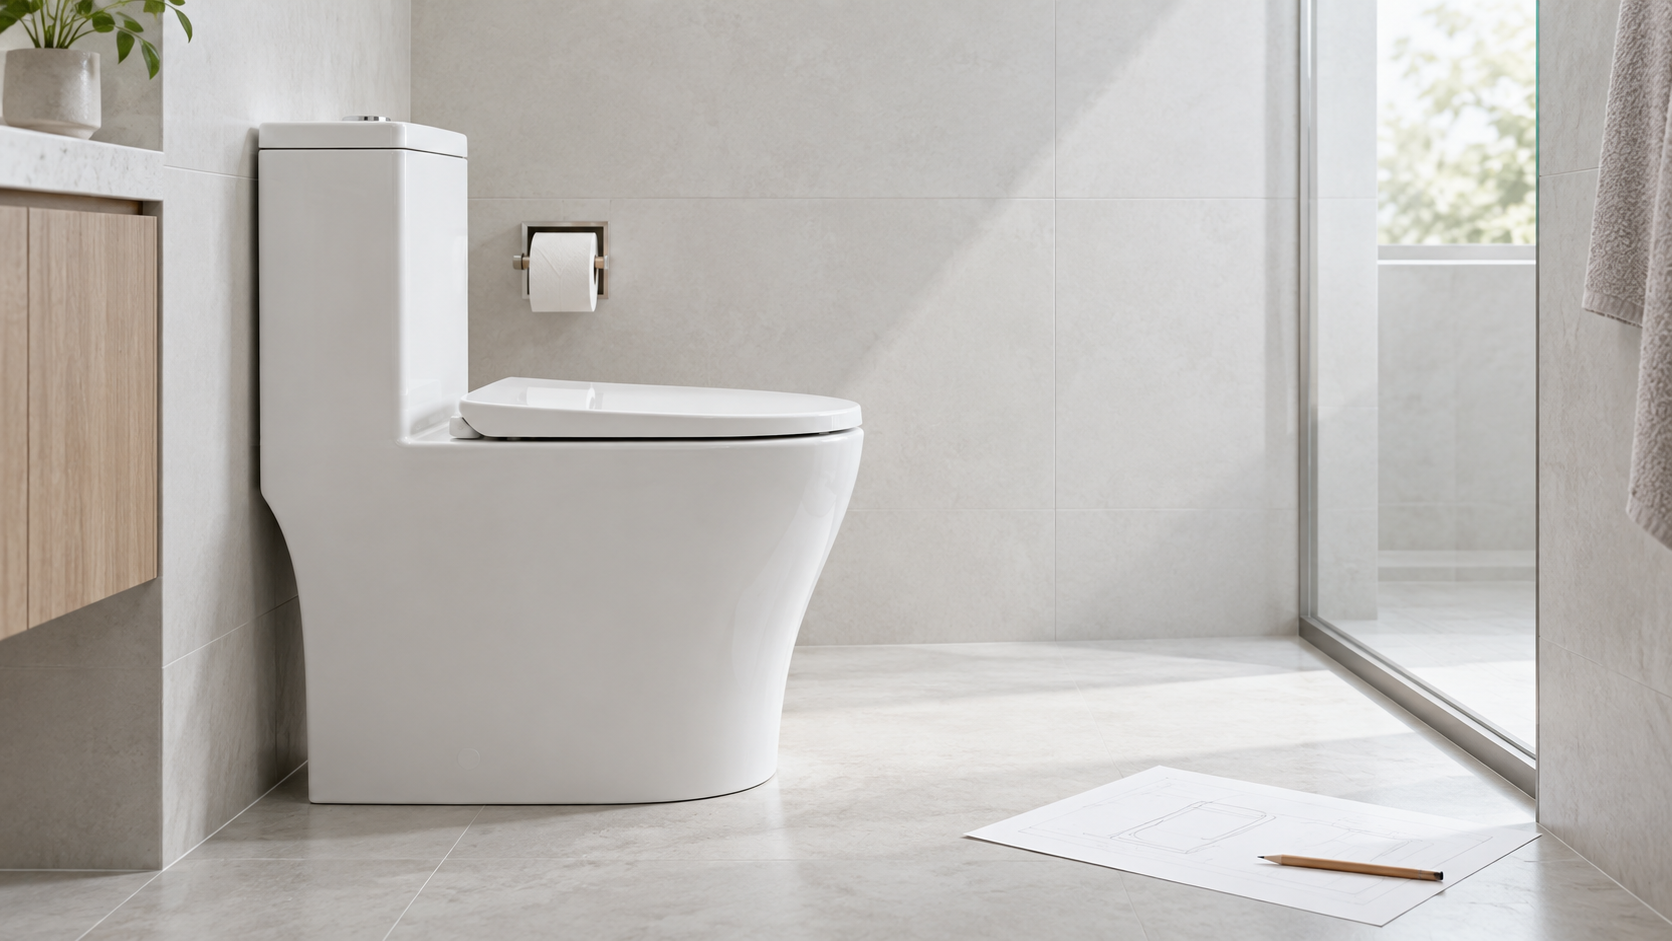
A replacement toilet can fit the waste connection yet expose the old base marks. Overall length, bowl width and rough-in do not describe the floor-level shape. You need the base outline at its correct installed position.
Map the old footprint against the new one using the same outlet and finished-wall references. Identify exposed marks or missing flooring before ordering, while you can still change models or include floor work in the quote.
01 BATHROOM KNOW-HOW
Separate connection fit, room fit and floor coverage
Connection fit asks whether the toilet connects correctly to the waste. Room fit concerns usable space and nearby objects. Floor coverage identifies what remains visible around the new base. Passing one check does not answer the other two.
For a conventional floor-outlet installation, American Standard identifies the finished wall, not the baseboard, as the rough-in starting point. Verify the actual outlet reference with the installer; decorative caps or concealed brackets are not automatically the drain centre. Our rough-in measurement guide explains that separate task.
Record the wall-to-outlet relationship first. Do not shift the proposed toilet merely to hide a stain; its position must follow the connection and installation instructions.
02 BATHROOM KNOW-HOW
Record what is visible before removing the old toilet
Photograph the front, both sides and the floor junction. On a plan, mark the visible base, grout lines, fixings and floor damage. Label the finished wall and toilet centreline, keeping measurements separate from estimates.
A paper trace or measured sketch can record the accessible perimeter without loosening the toilet. Use several width measurements along its length to describe a tapered or curved base; the maximum width alone produces a rectangle that the real ceramic may not cover. Mark areas hidden by the toilet as unknown.
Distinguish the sealant bead from the ceramic edge: a wide bead exaggerates the old footprint. A clean perimeter does not reveal the tiles beneath it. Ask about renovation photographs or spare tiles; keep concealed, unfinished areas unconfirmed.
03 BATHROOM KNOW-HOW
After removal, add the floor condition to the same plan
Have the installer manage removal and protection of the open waste connection. Once the floor is accessible, update the plan with the actual outlet, base contact marks, remaining sealant, old anchor holes, chipped tiles and any area with no finished flooring. This is a record of conditions, not an instruction to remove the toilet just to take measurements.
Outline each feature separately. A potentially removable stain, a drilled hole and a missing tile are different jobs. Record what the relevant trade has assessed. Any proposed cleaning method must suit the floor finish; do not assume an aggressive solvent is acceptable.
Locate old holes relative to the outlet reference, not only relative to the old ceramic. A hole disappearing under the new shell does not prove it is suitable for the new fixing system. The installer must assess the intended fixing and the floor separately.
04 BATHROOM KNOW-HOW
Obtain the base outline for the exact replacement
Ask the supplier for a dimensioned base plan, an appropriate full-size template or a physical sample that the installer can compare. Confirm that it shows the floor-level base profile, not just the widest part of the bowl viewed from above. Also identify the outlet reference and the location of the intended fixing system.
The Kohler BRAZN instructions illustrate this distinction: the supplied template aligns with the drain, and the base and fixing positions are marked separately from the roughing-in drawing. That model's holes and dimensions are not instructions for another toilet.
Record the model and document revision. When printing, verify a stated dimension at the intended scale; “fit to page” can change it. Without a suitable drawing, keep coverage unconfirmed until a sample or supplier-confirmed dimensions settle it. A lifestyle photograph cannot supply a hidden profile.
05 BATHROOM KNOW-HOW
Overlay the outlines without moving the connection
Place the new profile over the existing floor record at the same confirmed installation reference. Compare the front, both sides and the rear separately. Circle every old mark, hole or unfinished patch that remains outside the new outline; also mark any area where the drawings do not give enough information.
A longer or wider toilet is not necessarily wider at the troublesome spot. A base can taper near the rear or narrow behind the bowl. Likewise, a floor-level cover outline does not establish where the product actually bears on the floor. Ask the installer to check support and floor condition as well as the appearance overlay.
Return to the complete room plan before accepting a larger base. Check the door, supply access and use space with our toilet dimensions and clearance guide. For a different outlet arrangement, use the appropriate connection drawing; our floor-outlet and wall-outlet guide explains that distinction.
06 BATHROOM KNOW-HOW
Agree the visible finish and floor work before installation
If the overlay leaves an exposed defect, choose the response before the final installation: assess cleaning, specify a suitable floor repair, investigate a different compatible base, or include wider flooring work. Ask for the appearance and scope of any patch to be agreed. Hiding an unfinished area does not by itself make the support or floor condition acceptable.
Do not make a broad sealant strip the assumed answer to every mismatch, and do not treat existing holes as permission to drill new ones. Fixing, sealing and any work affecting waterproofing belong in the installation plan for the selected model and site.
Keep the marked overlay with the quote, naming who checks the exposed floor and approves additional work. Before fixing, the installer can compare the actual base with the agreed plan through a dry-position check, where the product instructions permit it.
Official references
FAQ COMMON QUESTIONS
Frequently asked questions
If the rough-in is the same, will the base cover the old marks?
Not necessarily. The connection reference and base outline describe different geometry. Compare the actual floor-level shape at the correct installed position.
Can I compare only maximum base length and width?
They help screen options, but curved or tapered bases need an outline or additional dimensions. Compare each mark and hole with that profile.
Can the new toilet reuse the old floor holes?
Only if the selected model's fixing instructions and the installer's assessment confirm that arrangement. A hole being covered does not establish its suitability for reuse.
Must the whole bathroom floor be replaced?
Catalogue dimensions cannot decide this. Record the exposed floor condition, then compare cleaning, local repair, alternative models and flooring work with the responsible trade.
NEXT · RELATED READING