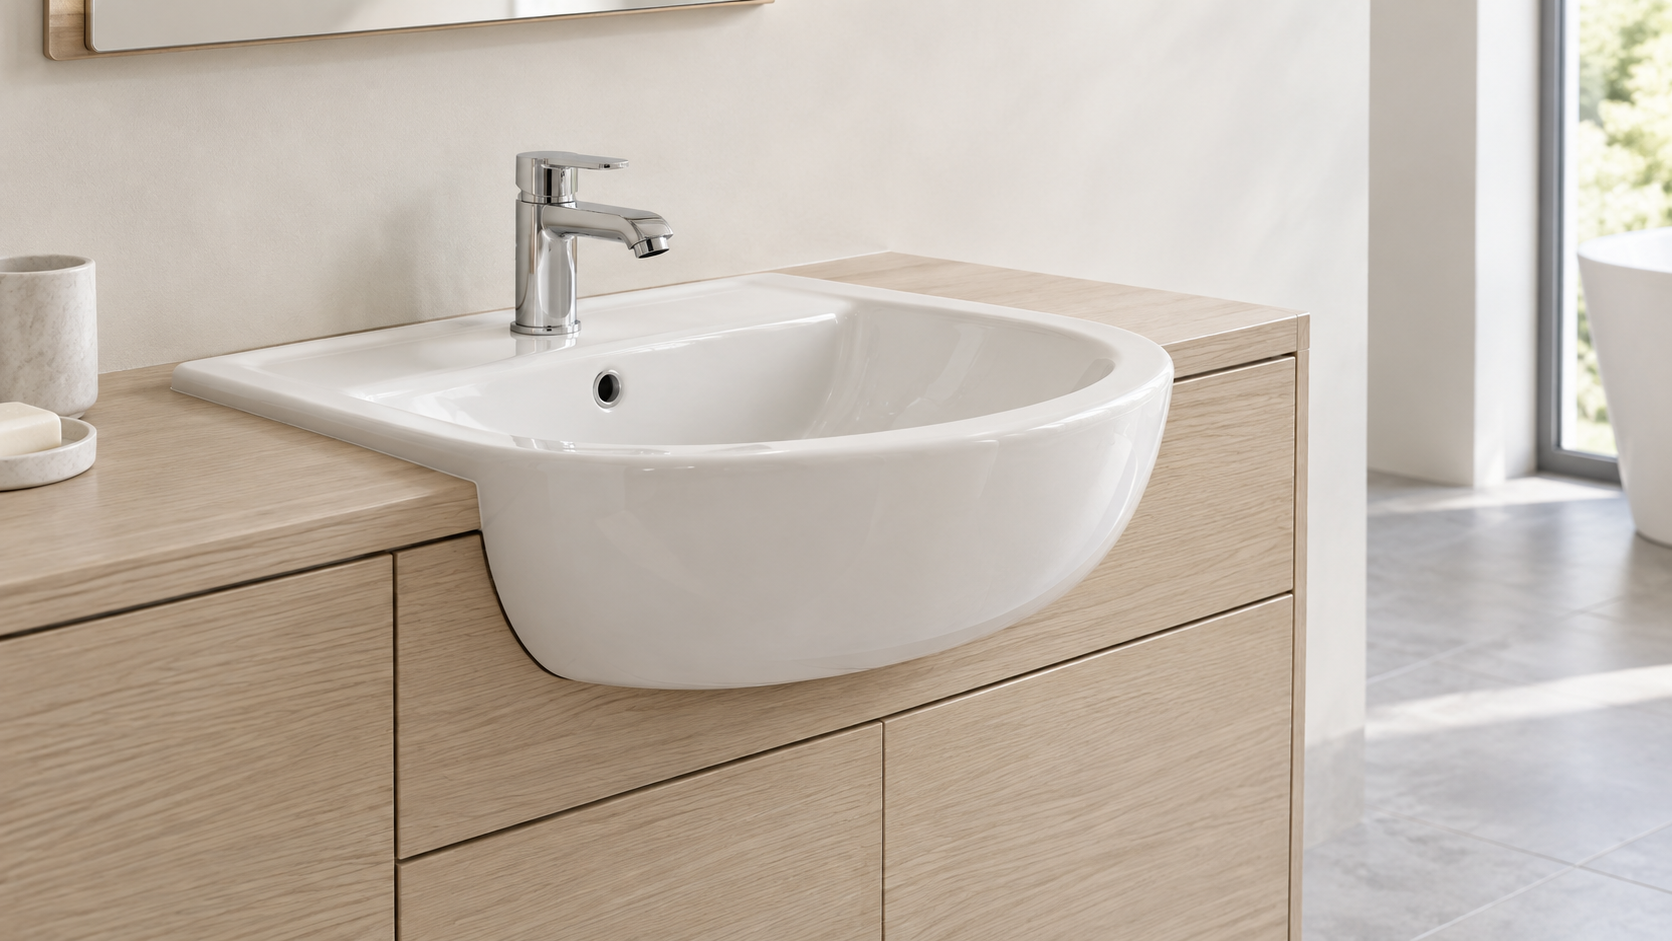
A semi-recessed basin can project beyond the front of a shallow vanity while part of its body sits within the furniture. The front edge is therefore part of the installation interface. Choosing a basin narrower than the cabinet does not, on its own, establish a fit.
For this purpose-designed basin type, the question is where the ceramic meets the countertop and front apron, and how that opening relates to the cabinet beneath it. Work through those relationships before authorising a cut. The brand examples below explain specific arrangements; they do not establish compatibility with a Chengda product.
01 BATHROOM KNOW-HOW
Put the cabinet front and basin projection on the same drawing
Ask for a side view showing the finished wall, countertop front, cabinet face and furthest point of the basin. Label each reference separately. The countertop may overhang the door, so two people can quote the same depth while measuring from different edges. A photograph from above hides that difference.
Keep the overall basin projection separate from the portion housed inside the cabinet. For room planning, mark the furthest ceramic edge as well as the furniture. A shallow cabinet does not automatically mean the entire wash area projects by that smaller amount. Our shallow-depth vanity basin guide discusses the wider room-layout question.
| Record | Question it answers |
|---|---|
| Finished wall to basin front | Where will the user-facing edge actually finish? |
| Countertop front and cabinet face | Which line is the template aligned with? |
| Basin envelope below the surface | What space remains for furniture and plumbing? |
| Top and front opening profiles | Which surfaces will the installer cut? |
02 BATHROOM KNOW-HOW
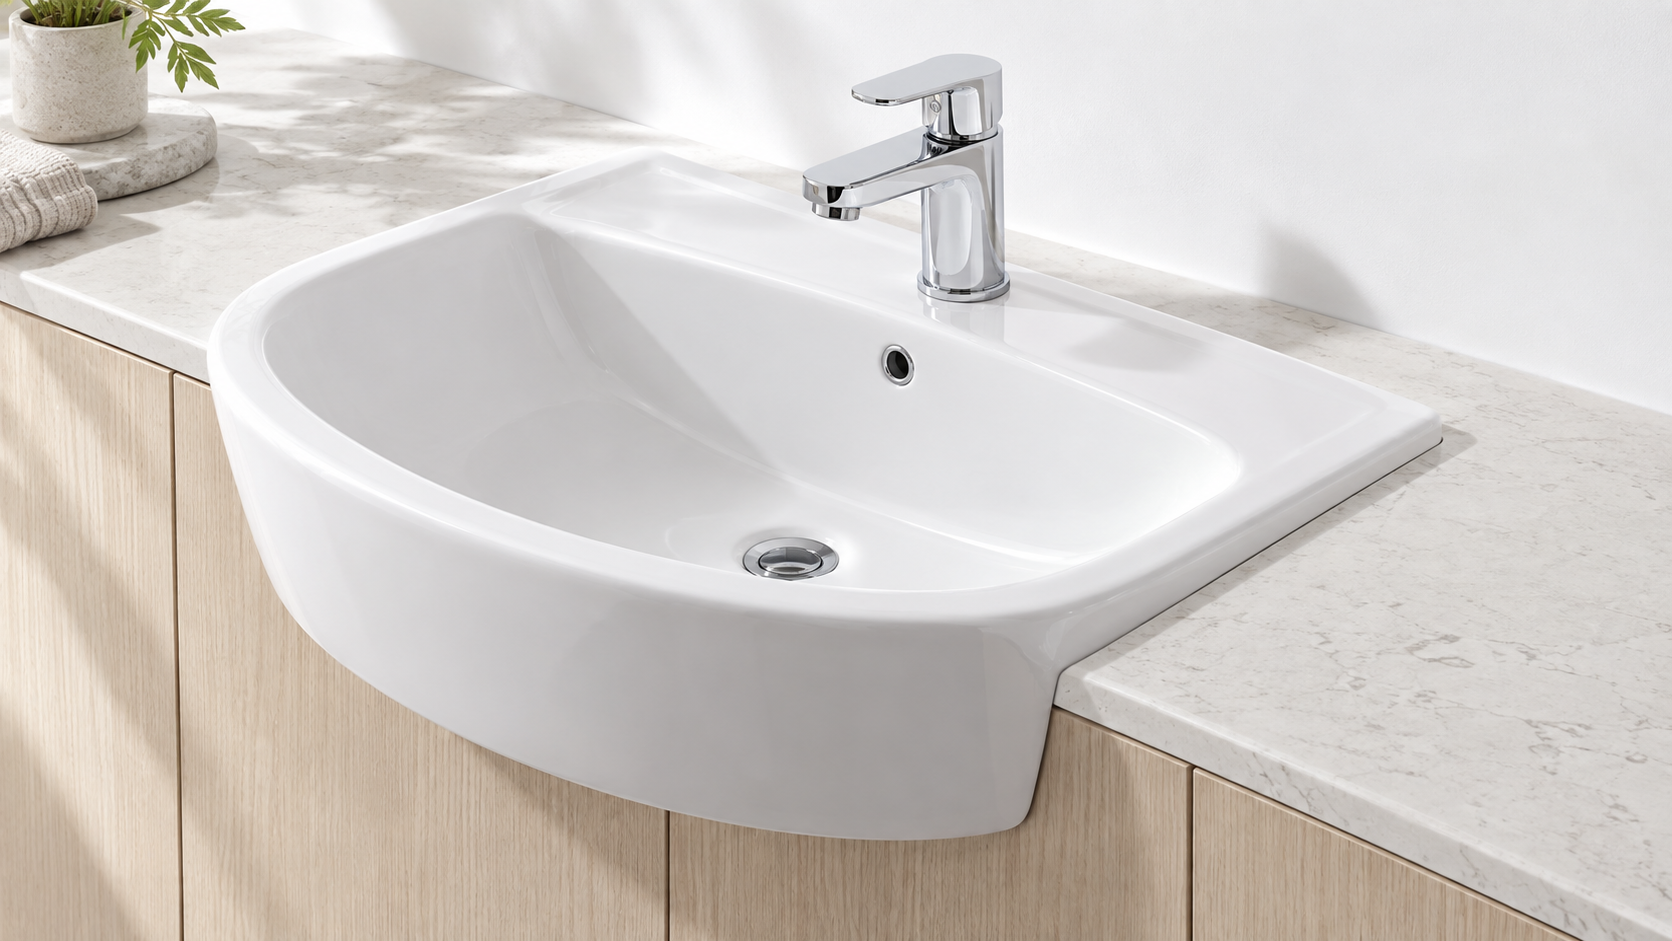
Use the semi-recessed template across the top and front apron
The Caroma Forma installation guide gives a concrete example: its template folds over the countertop and apron. This model also uses brackets and tie hooks. Its front interface is part of the intended fitting, rather than an accidental overhang created by pushing an ordinary bowl forward.
For a basin with this arrangement, ask the fabricator to show the required front opening on the same drawing as the top opening. Do not substitute the small waste hole used for an ordinary above-counter vessel basin. Equally, do not copy Forma's cut-out, apron limits or fixings onto another model because its silhouette looks similar.
Treat the template, basin and cabinet proposal as one approval set. If a drawing shows the ceramic crossing a solid cabinet front without any opening, ask how those two objects occupy that space. Resolve the section view before relying on the attractive perspective rendering.
03 BATHROOM KNOW-HOW
Check what the opening removes from the furniture
Mark the proposed opening against the actual cabinet construction, including top rails, corner blocks, door hinges and drawer runners. Ask the cabinet supplier which pieces may be cut and what approved construction remains. Do not let an installer discover a structural rail only after the countertop has been fabricated.
Make the basin fixing arrangement visible too. A bracket needs its specified fixing surface and room for installation; an opening that admits the bowl may still obstruct that work. Request the basin instructions alongside the furniture drawing. A sealant line in a rendering is not evidence that every required fixing has been accounted for.
For drawers, review the open and closed positions with the bowl, waste and trap shown. Record usable storage after the assembly is fitted, not just the empty drawer's catalogue size. Keep these decisions in the same handover discussed in our cabinet and basin matching guide.
04 BATHROOM KNOW-HOW
Confirm the tap and waste arrangement on the selected version
The category name does not tell you whether an overflow is present. Caroma's Opal Sole 631610W is listed without one, while Ideal Standard's Tesi T010001 is listed with an overflow and one tap hole. Check the exact version before selecting the waste fitting.
Include the tap body, handle movement, supply connections and waste outlet in the review. Ask whether each connection can be reached after the basin is secured. If the tap mounts in the ceramic, preserve that specified hole arrangement; do not add an assumed countertop hole just because the cabinet is shallow.
Request the fitting dimensions rather than judging reach from a lifestyle image. Our basin tap-hole guide explains that separate interface. The aim here is to make sure the selected plumbing arrangement and furniture have been checked together.
05 BATHROOM KNOW-HOW
Confirm which file is the cutting instruction
A product image, a dimensioned outline and a cutting template serve different purposes. Kohler's template guidance points buyers to model-based CAD resources or a requested template when one is missing. Finding a download is the start of identification; ask the manufacturer which file applies to the supplied basin.
Have the fabricator record the model, file revision, units and intended output scale. If printing, verify a stated reference dimension before treating the sheet as full size. If importing CAD, confirm units and identify the actual cut line. Do not enlarge a screenshot until its outside width happens to match a catalogue number.
Before cutting the final surface, have the installer compare the physical basin and authorised template. Any mismatch needs clarification. Keep the confirmation with the order so a later change of finish, hole version or product revision does not silently reuse an earlier approval.
06 BATHROOM KNOW-HOW
Approve the assembled relationship before repeating the order
For a project or furniture range, request a trial assembly with the intended top thickness, front treatment and fittings. Photograph the front junction, underside fixing access and drawer movement. Ask the responsible trades to confirm the cut-edge treatment and sealing method for the actual materials; this article does not prescribe one universal adhesive or sealant.
Close the review with a marked drawing and a short list of unresolved items. Distinguish a fit checked on a physical sample from a fit inferred only from drawings. Production acceptance still needs agreed drawings, tolerances and change control. This makes the next order repeatable without promising that every similarly sized semi-recessed basin will fit.
Official references
FAQ COMMON QUESTIONS
Frequently asked questions
Can I create this effect by pushing a vessel basin over the edge?
Do not assume an ordinary vessel basin is designed for that arrangement. Select a purpose-designed semi-recessed model and follow its support and cut-out instructions. The appearance alone cannot establish an installation method.
Does every semi-recessed basin fit a standard shallow cabinet?
No universal cabinet depth is established here. Confirm the basin's front reference, opening profile, fixing space and below-counter envelope against the actual furniture.
Will I lose the whole top drawer?
That depends on the assembly. Ask for the bowl, waste and trap to be shown with the drawer's movement and usable interior. Do not promise full storage or remove a drawer based only on the basin category.
Can I reuse an existing semi-recessed cut-out?
Compare the complete existing opening, support arrangement and front junction with the replacement model's instructions. Matching overall width is insufficient. Ask the installer whether the current top and furniture can accommodate the confirmed replacement.
NEXT · RELATED READING