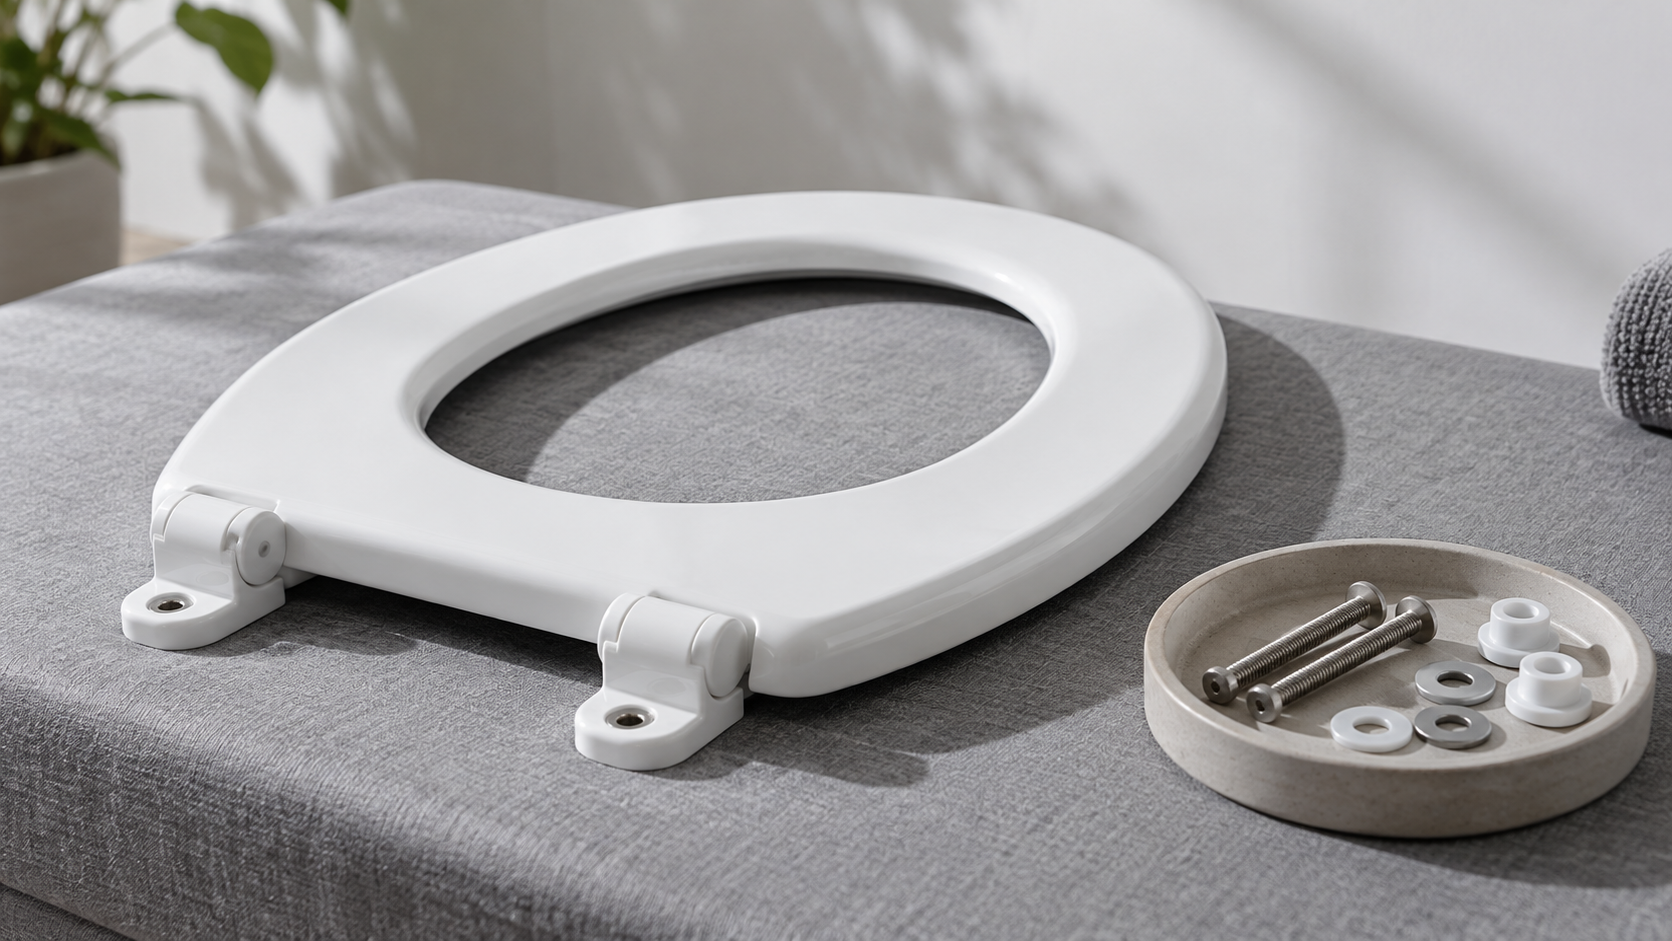
If you cannot reach the underside of your toilet's seat holes, choose by the complete fixing method, not just the seat outline. Ask the supplier to confirm a kit for the exact pan and seat combination that can be installed and later removed through the available access.
A screw tightened from above is not necessarily a top-access installation. Some systems still need a nut positioned underneath first. That small distinction can explain why a replacement seat looks right in the box but cannot be fitted to the installed toilet.
01 BATHROOM KNOW-HOW
Ask where every part must be placed
For this purchase, use top fixing to mean a model-approved system whose necessary fixing operations can be completed from the accessible upper side. Bottom fixing requires access beneath the seat holes for some part of the assembly. Treat these as access descriptions; the supplier's actual instructions settle what a named kit requires.
In Kohler's standard seat instructions, bolts pass through from above and nuts are fitted from below. Its Quick Attach example also starts with a wing nut positioned underneath, although final tightening takes place from above without holding the nut. Neither example makes underside access disappear.
When comparing listings, replace the vague question 'Does it tighten from the top?' with 'Where do I insert, hold and remove each component?' Request the fitting diagram before ordering.
02 BATHROOM KNOW-HOW
Photograph the installed access, not only the lid
Take an overhead view of both hinges, a side view showing the ceramic around the fixing area, and a view of any accessible underside or service opening. Include the pan and seat identification labels where available. A fully skirted appearance is a clue to investigate access, not proof of which anchor is inside.
Show the surrounding wall, cabinet or cistern where it restricts a hand or tool. A nut visible in a mirror may still be unreachable in the installed position. Do not plan on moving the entire toilet merely because a replacement kit assumes access that your room does not provide. Ask the installer what is practically possible.
| Send this evidence | Ask the supplier |
|---|---|
| Pan and seat model identification | Which exact fixing kit is approved for this combination? |
| Hinge area from above and beside the pan | Does any installation step need underside access? |
| Existing anchor or nut, if safely visible | Is it retained, replaced or removed by a specific method? |
| Installed space around the fixing | Can the specified tool and later removal procedure fit here? |
03 BATHROOM KNOW-HOW
Match the anchor and thread, not the screw's appearance
Keep the hinge base, bolt, washer, sleeve or anchor, and any underside nut together as the specified assembly. A photograph of a shiny screw is insufficient to identify its thread or the surface against which the fixing bears. Do not combine a new bolt with an unknown old anchor because it begins to turn.
Kohler's wood-seat compatibility note documents a thread mismatch between certain wood-seat hardware and certain anchor-equipped toilets, and identifies a matching hardware kit. The lesson is to confirm the pairing. That kit number is not a recommendation for another brand or an unidentified toilet.
Ask whether the quoted item includes both hinge assemblies and every required component, or only a replacement bolt. If the supplier proposes a substitute, obtain confirmation against the pan model, seat model and existing fixing arrangement. 'Universal' in a listing does not answer those three questions.
04 BATHROOM KNOW-HOW
Keep seat fit and fixing access as separate checks
An accessible fixing cannot make an unsuitable seat outline fit the bowl. Use our toilet-seat measuring guide for the separate geometry check, then add the fixing diagram to the enquiry. Conversely, matching the dimensions does not establish that a hand can reach the nut underneath.
Material names do not identify the fixing system either. The PP and UF seat comparison addresses the seat material; the hardware still needs its own identification. If the existing seat lifts off for cleaning, ask how the remaining hinge bases are attached. Removing the lid and ring is a different operation from removing their bases.
05 BATHROOM KNOW-HOW
Read the removal steps before the installation starts
Ask the installer to identify the specified fitting sequence, tools and tightening instructions. Do not invent a torque or keep tightening simply because the seat moves. If an anchor spins, a component will not seat, or ceramic damage is visible, stop and resolve that condition against the manufacturer's guidance before continuing.
Check how the approved system is released later and whether any components must be replaced after removal. Keep the instructions with the model record. A fixing hidden below the hinge cover should not become a mystery at the first maintenance visit.
After fitting, have the installer check alignment, support, movement and any release mechanism according to the seat instructions. A lid that drops too quickly is a different complaint from a moving hinge base; our soft-close troubleshooting article explains that distinction.
06 BATHROOM KNOW-HOW
Close the enquiry with one clear confirmation
Before paying, request a written reply naming the seat, pan and kit, plus the applicable instructions. It should answer whether the installed toilet needs underside access and how the kit can later be removed. Leave uncertain identification marked unresolved rather than treating a similar photograph as approval.
For repeated rooms, record the combination checked on the sample installation. Keep its hardware packaging and access photographs with the room-type specification. If a later delivery changes the hinge or fixing kit, review that change before repeating the earlier fitting method.
Official references
FAQ COMMON QUESTIONS
Frequently asked questions
Does tightening from above mean no access underneath is needed?
No. Some systems require a nut to be positioned underneath before the screw is tightened from above. Read the whole assembly sequence, not only the tightening step.
Can I replace a bottom-fixing bolt with a top-fixing anchor?
Only after the pan and seat manufacturer or supplier confirms a compatible assembly. The hole, anchor, thread and hinge arrangement must be considered together; changing one component does not establish compatibility.
Does a quick-release seat automatically solve the access problem?
No. Quick release can allow the ring and lid to lift away while the hinge bases remain attached. Confirm how those bases are fitted and removed.
What if I cannot identify the old fitting?
Send the model information and clear access photographs to the supplier or installer. Avoid forcing an unknown anchor out or drilling the ceramic to suit a guessed replacement.
NEXT · RELATED READING