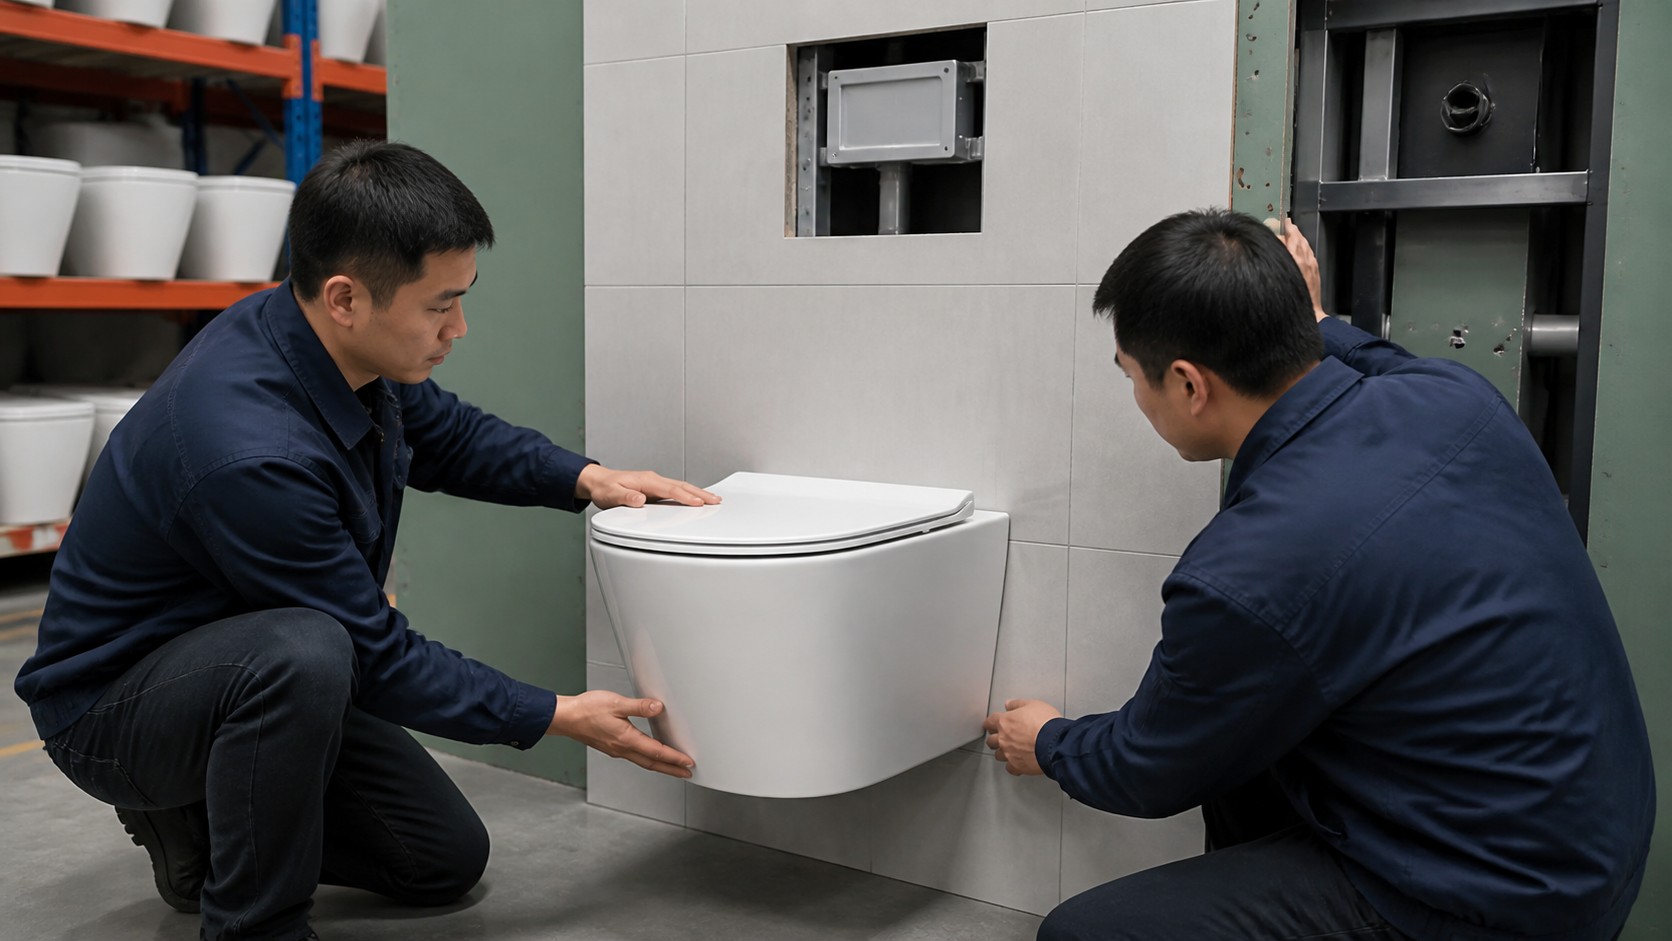
Wall hung toilet carrier compatibility cannot be approved from a product photo or the phrase universal frame. The ceramic bowl, mounting hardware, flush pipe, waste connector, concealed cistern, finished wall, seat and service opening form one installed system. This guide gives importers, designers and project teams eight dimensional checks to close before the frame disappears behind board and tile.
Key takeaways
- Use two current drawings: compare the exact bowl revision with the exact named carrier and connection-set revision.
- Match the whole interface: rods, flush inlet, waste outlet, finished height, wall build-up and rear support must work together.
- Prove it physically: one installed, flushed and service-tested mock-up is stronger evidence than a catalogue compatibility claim.
01 DRAWINGS & DATUMS
Which drawings must be locked before matching a bowl and carrier?
Start with the latest dimensioned bowl drawing, the carrier specification, the carrier installation manual and the exact inlet-and-waste connection-set drawing. Record their model codes, revision dates and units. The carrier supplier must confirm its structural installation and connection range; the ceramic supplier must confirm the bowl interface. The project team must place both on the same finished-floor and finished-wall datums.
Chengda's current drawings for T101, T115 and T120 show a common rear pattern: 180 mm between the two ceramic mounting-bore centres, Ø28 mounting bores, a flush opening labelled Ø58, a waste detail labelled Ø100/80 and 135 mm vertically between the flush and waste centrelines. Their current drawings show 485 × 360 × 365 mm, 485 × 365 × 350 mm and 485 × 365 × 365 mm respectively. The T120 webpage currently lists 485 × 365 × 350 mm instead; freeze no total height until Chengda resolves that revision. These bowl-source facts prove no fit with a third-party frame.
Do not substitute a similar model's drawing. T122, for example, is catalogued by Chengda as floor-mounted, so it is not a wall-hung bowl example for this checklist. If a webpage, drawing and sample disagree, stop and obtain a signed current revision before cutting pipe, closing the wall or releasing quantity production.
02 RODS & BORES
Do the mounting-rod centres, thread and projection match?
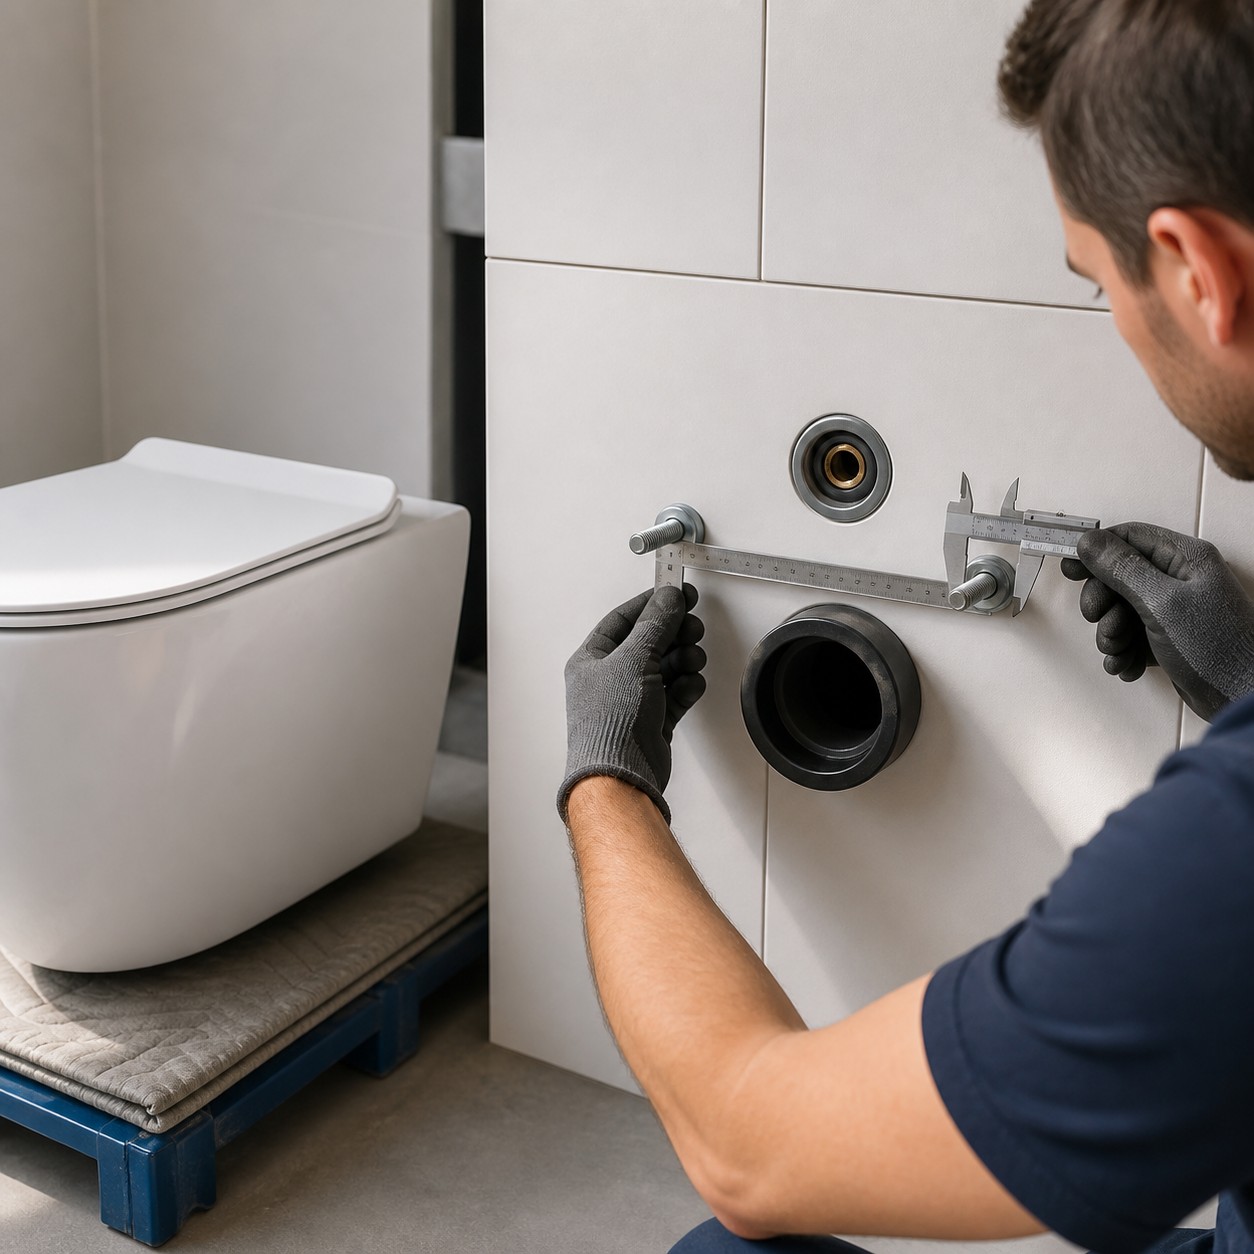
Compare the carrier's two bowl-support rods with the ceramic mounting bores. Check centre-to-centre spacing, rod thread and diameter, usable projection beyond the finished wall, sleeves, washers, nuts, cover caps and the tool access needed for tightening. A ceramic bore diameter is not automatically the required rod diameter; it also has to accept the approved sleeve and allow safe installation tolerance.
Set the rods square and level to the final wall face. They must enter the bowl without pulling the ceramic sideways, bending a rod or using an oversized hole as a correction. Confirm that the carrier provides the correct nut engagement after all wall layers are installed and that the mounting method does not concentrate force on a thin ceramic edge.
Use a rigid interface gauge or the real bowl before wall closure. A cardboard outline can show approximate position, but it cannot prove rod engagement, rear support or tool access. Record the actual rod centre, exposed length and hardware code in the mock-up report.
03 FLUSH INLET
Does the carrier's flush pipe meet the bowl inlet correctly?
Compare inlet centreline, opening diameter, connector outside diameter, seal profile, insertion depth and the connector length measured from the finished wall. The current T101, T115 and T120 bowl drawings label the ceramic flush opening Ø58 and place its centre 135 mm above the waste centre. The named carrier drawing must be checked against that geometry; the number must never be assumed from the frame's appearance.
Dry-fit the actual flush pipe and seal. The pipe should enter squarely, compress the specified seal evenly and remain free of side load. Cut a supplied connector only by the carrier or connection-set instructions, after the finished wall thickness is known. A pipe that is too short may not seal; one left too long can hold the bowl off the wall or stress the ceramic.
Hydraulic fit matters as well as physical fit. Confirm the cistern, flush valve, pipe and bowl are approved for the intended full and reduced settings and destination requirements. Run repeated flushes on the real combination and check bowl wash, splash, refill and leakage; do not infer performance from a dry mechanical fit.
04 WASTE OUTLET
Does the waste connector match the bowl outlet and wall depth?
Read the ceramic outlet detail and the carrier connection-set detail together. Chengda's current T101, T115 and T120 drawings label the rear waste connection Ø100/80. The order file must state how that drawing note corresponds to the actual supplied sleeve, seal and carrier bend; do not casually rename one number as a universal pipe size.
Check waste centre height, connector diameter, seal profile, insertion depth, available fore-and-aft adjustment and the route to the building drain. The connector must remain concentric and square as the bowl moves onto the rods. Forced offsets, improvised reducers or a sleeve trapped at an angle can create poor drainage, hidden leakage or stress behind the ceramic.
Before closing the wall, cap and test the carrier drainage as required by the project. After the bowl is fitted, run repeated full flushes and inspect the rear joint, service cavity, wall base and floor while they are dry and visible. A successful one-time flush is not a substitute for a controlled leak and drainage check.
05 FINISHED SEAT HEIGHT
Will the carrier place the installed seat at the required height?
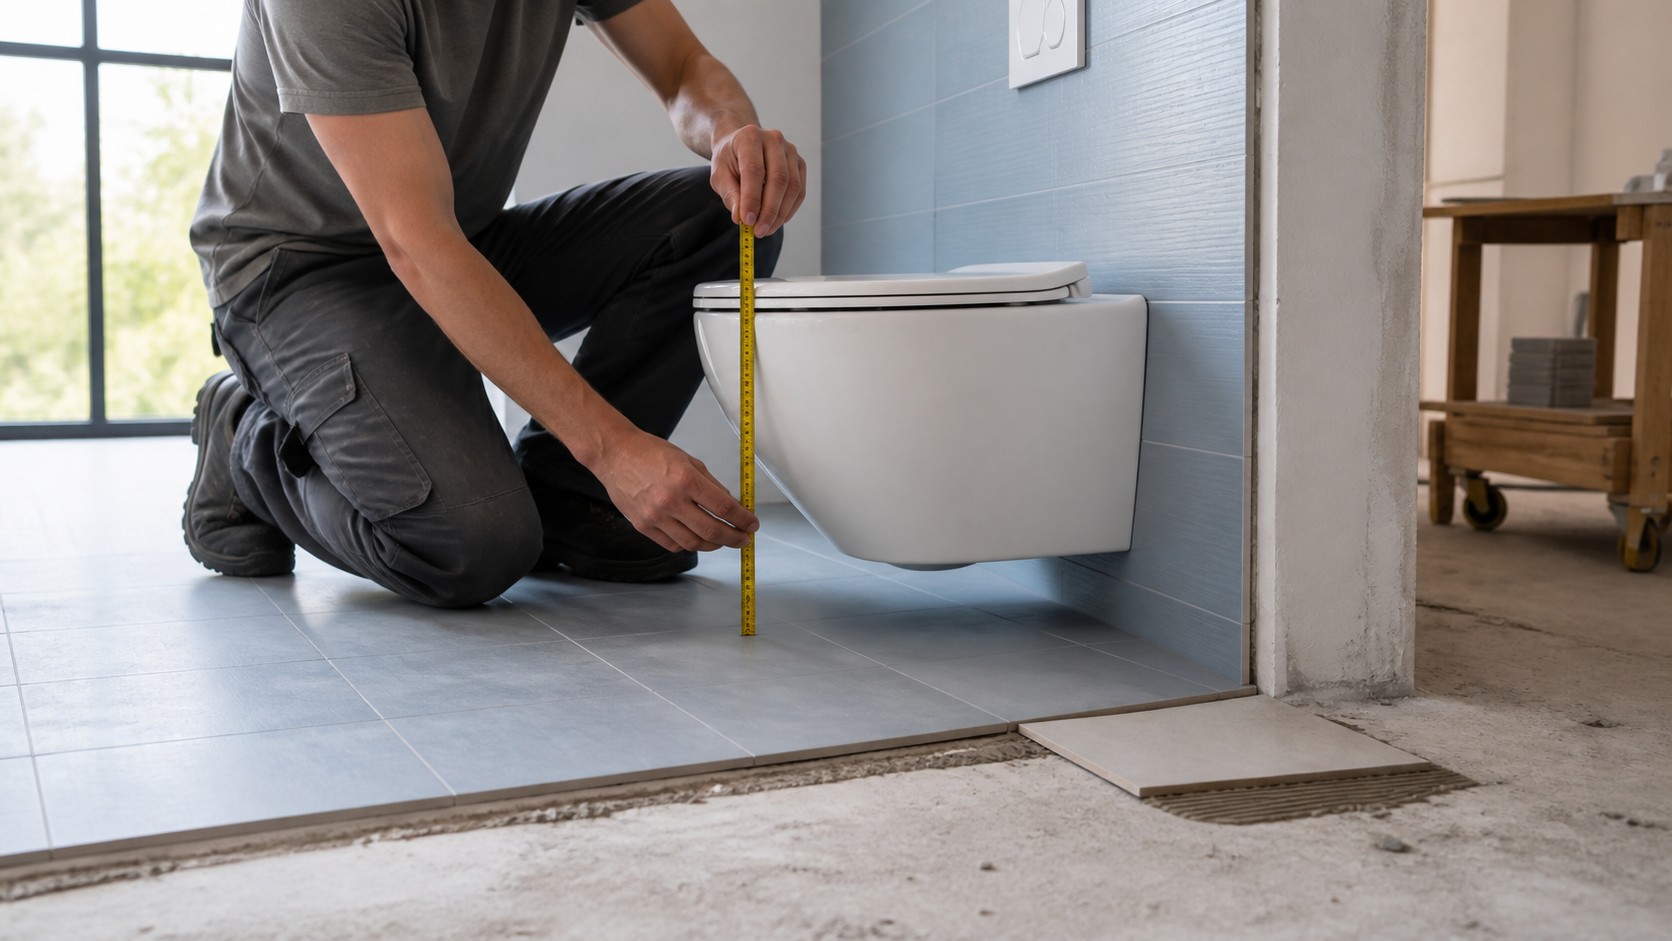
Set height from the final finished floor, not the structural slab or an unfinished carrier foot. The useful project dimension is floor to the top of the installed seat. It combines carrier adjustment, ceramic rim position, fixing geometry and the approved seat thickness. A bowl's overall body height is not the finished seat height.
Requirements vary by market, room and user group. As one official example, U.S. Access Board ADA section 604.4 measures water-closet seat height to the top of the seat above the finish floor. That reference does not make a bowl or carrier compliant by itself: the complete room, clearances, controls, supports and exact installed height still require destination approval.
Mark the target on the mock-up wall, install the real seat and measure after the floor finish is in place. Check comfort, feet, transfer needs where applicable, seat-hinge access and cleaning. Record both the ceramic datum and seat-top result so a later seat substitution cannot silently change the project height.
06 WALL BUILD-UP & PROJECTION
How do wall layers change connector length and room projection?
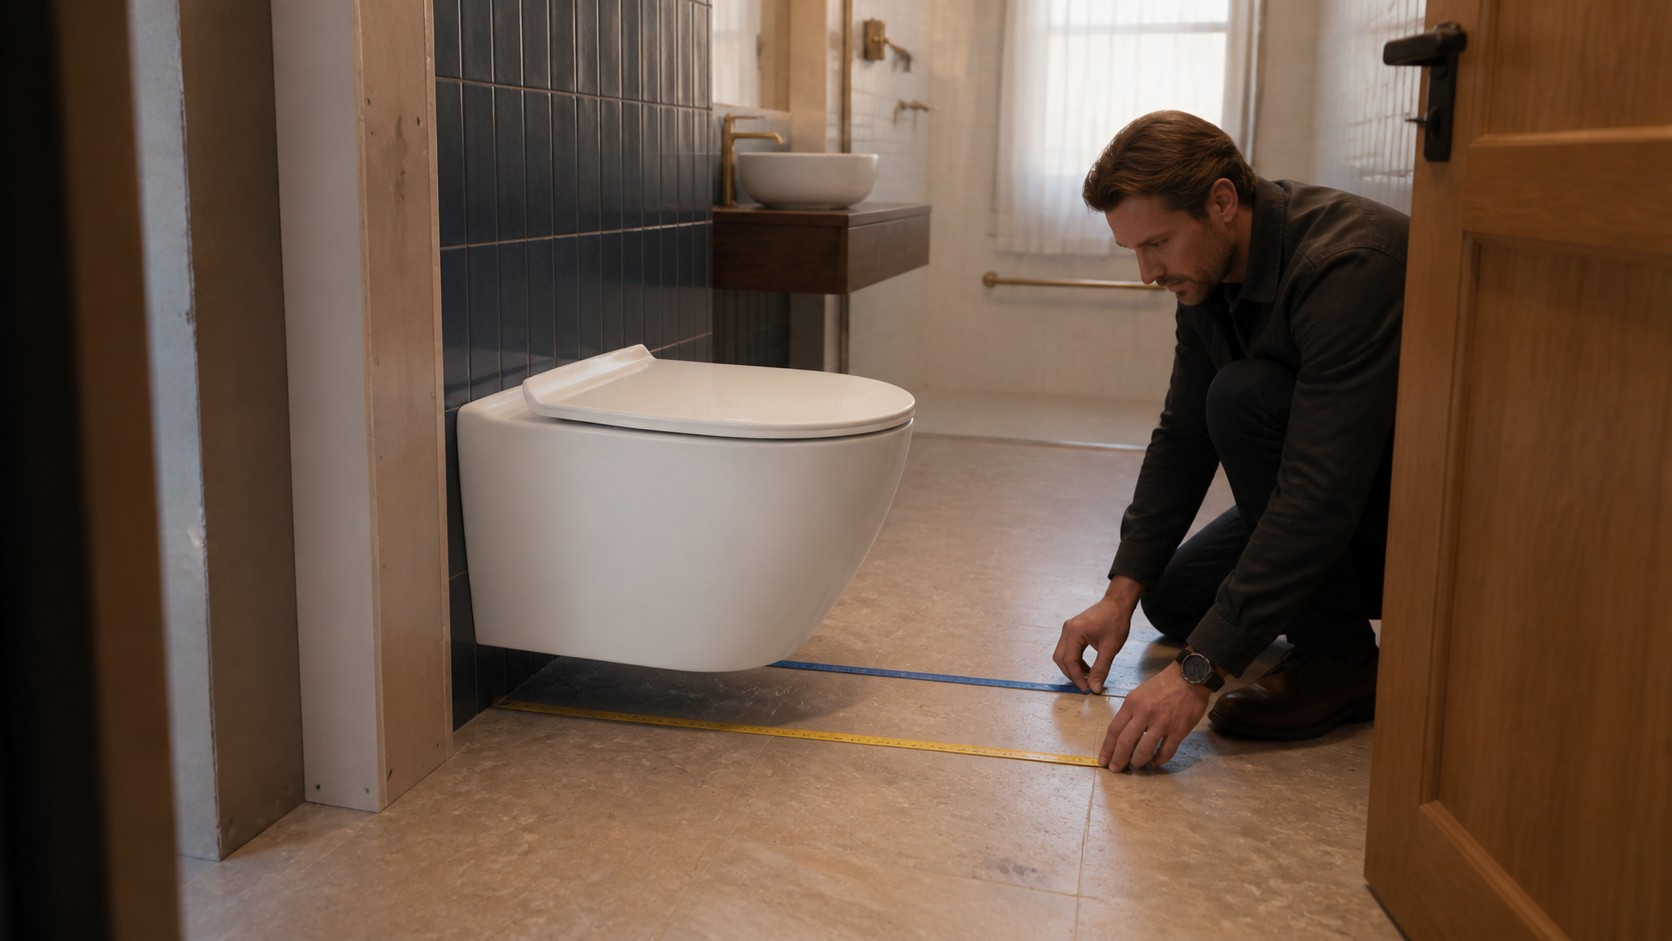
Separate the structural wall, carrier cavity and finished wall face. Add framing or prewall depth, board, waterproofing, adhesive and tile. That final face controls rod projection, flush-pipe and waste-connector cut length, the bowl's rear contact and the point from which installed pan projection is measured.
T101, T115 and T120 each show a nominal 485 mm bowl projection on their current drawings. Total room loss from the structural wall will be greater because the concealed build-up sits behind the finished face. Conversely, a thin finish cannot be assumed if the carrier, pipe route or structure needs more depth. Coordinate the real section rather than quoting the bowl length as the whole wall system.
After mounting, measure finished wall to bowl front and structural wall to bowl front. Then open doors, shower screens and nearby drawers and confirm the required circulation. See the short-projection wall-hung toilet guide for the wider room-planning method.
07 SUPPORT & CONTACT PLANE
Does the carrier support the bowl's real rear contact surface?
Mounting rods locate and clamp the bowl, but the rear ceramic and approved wall interface also distribute load. Compare the bowl's wall-contact outline with the carrier cross-member, finished wall, acoustic or isolation layer and any support accessory required by the carrier manufacturer. Some carrier systems publish extra hardware for bowls with a small contact surface; that is a carrier-specific decision, not permission to improvise.
The finished wall must be flat, sound and able to accept the specified installation. Raised tile edges, a hollow board joint or a connector left too long can prevent full rear contact and make the bowl rock. Do not use a thick bead of sealant, over-tightened nuts or packed debris to hide a structural mismatch.
During approval, place the bowl on the intended wall assembly, tighten only by the specified sequence and torque, and inspect contact, level, rim line and movement. Production QC should also verify the ceramic rear plane and mounting bores against the signed sample. Our sanitaryware inspection guide covers the wider pre-shipment record.
08 SERVICE ACCESS & MOCK-UP
Can the installed system still be flushed, serviced and repeated?
Confirm the exact actuator or flush plate, its rough-in box, orientation, finished position and removal envelope. On many concealed systems the plate opening is also the route to service internal cistern components; Geberit's current concealed-cistern guidance, for example, says removing its flush plate gives direct access to relevant components. Apply only the instructions for the carrier actually specified.
Keep the opening clear of shelves, cabinets, mirrors, grab rails and thick finish returns. Verify that the isolation control and replaceable valves can be reached with ordinary hands and tools after the bowl is installed. Flush plates are system components: a similar-looking plate should not be substituted without the carrier supplier's confirmation.
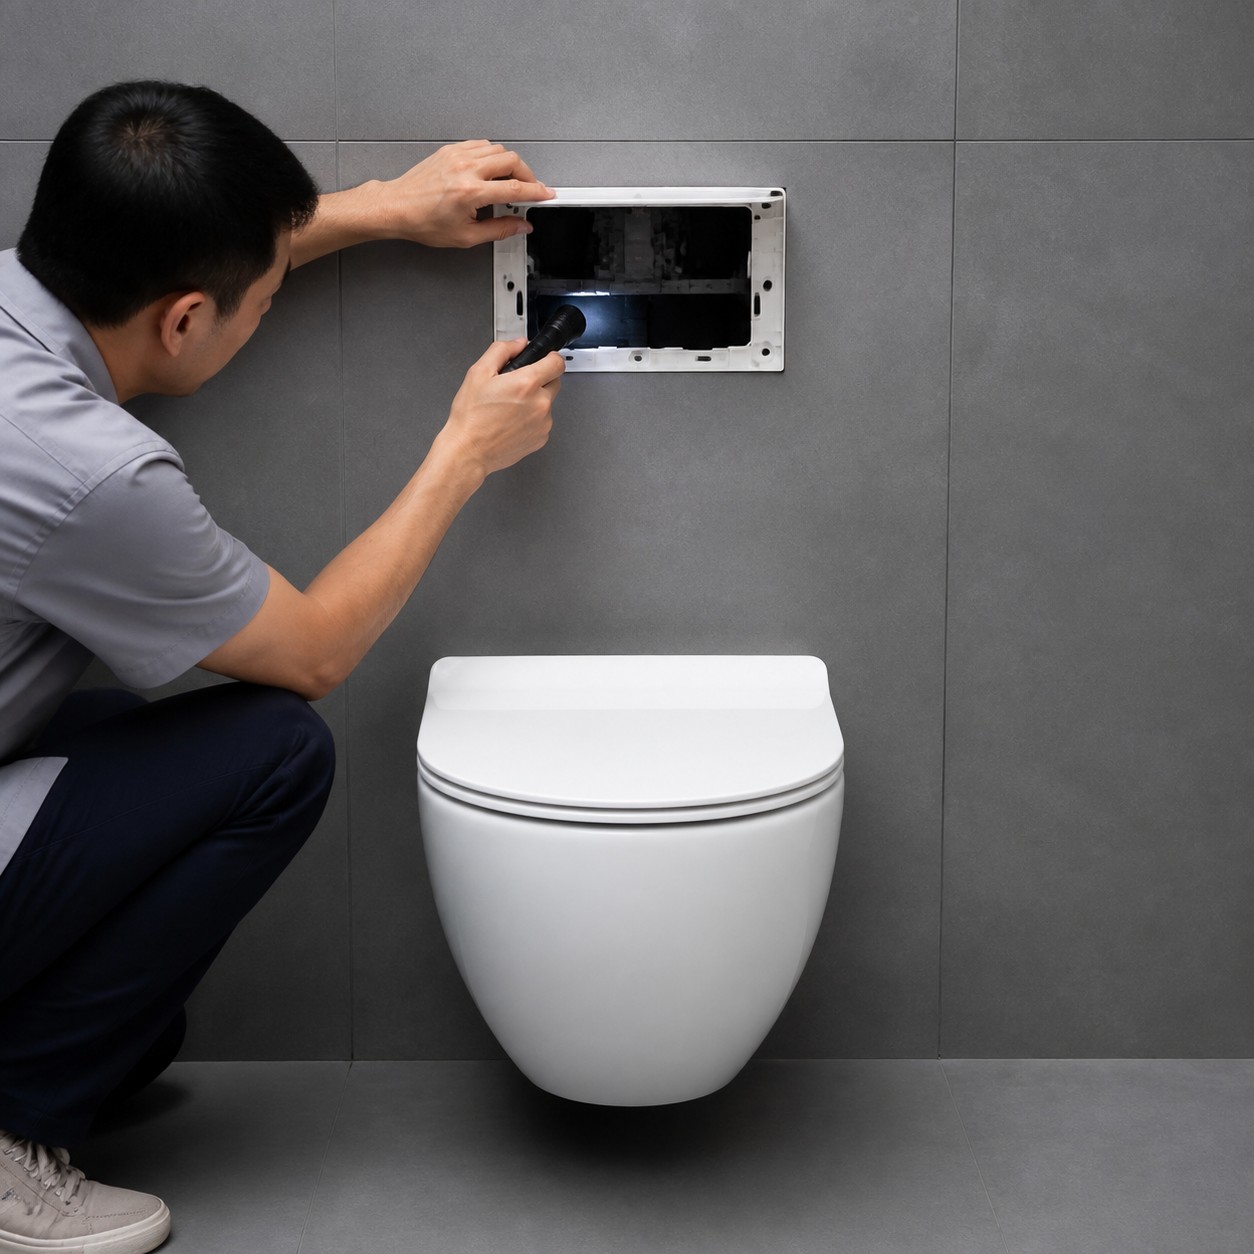
Build one full-size mock-up with the named carrier, connection set, current Chengda bowl sample, seat, wall layers and plate. Dry-fit before closure; then finish the wall, install the bowl, measure height and projection, run repeated flushes, inspect for leaks, remove and refit the plate, service the valve and remove the seat. Sign the accepted combination and freeze every code and revision.
For a quotation, send Chengda the exact carrier code and current drawings, connection-set code, target finished seat height, full wall section, destination requirements and quantity. T101, T115 and T120 can then be reviewed from their current bowl drawings and samples. This review is coordination, not a claim that any Chengda bowl is compatible with Geberit, TOTO or another third-party carrier until the named combination is documented and tested.
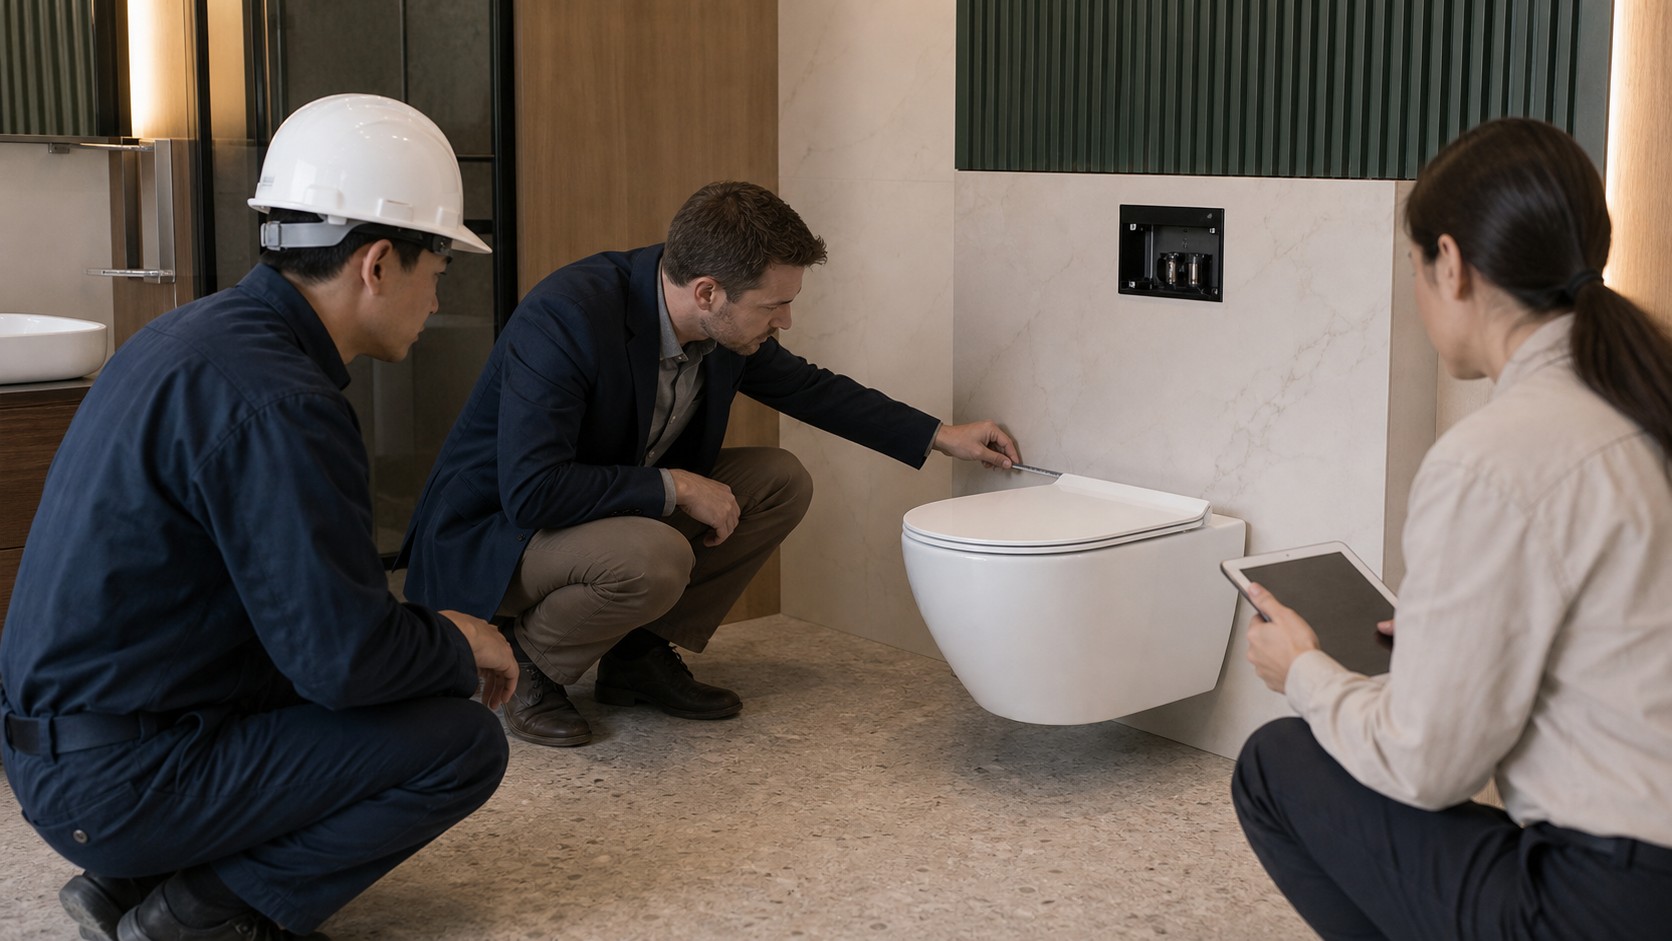
Do not close the wall until all eight are signed
1. Drawings and datums. 2. Rod centres, thread and projection. 3. Flush inlet and seal. 4. Waste outlet and seal. 5. Finished seat height. 6. Wall build-up and projection. 7. Rear support plane. 8. Flush-plate access and full mock-up.
FAQ COMMON QUESTIONS
Frequently asked questions
Can any wall-hung toilet bowl fit any in-wall carrier?
No. The latest bowl and carrier drawings must agree on mounting rods, flush inlet, waste connection, height range, wall interface, support and service parts. Similar appearance or one matching dimension is not enough.
Does a 180 mm rod centre guarantee compatibility?
No. Rod centre is only one check. Rod thread and projection, ceramic bore size, inlet and waste positions, seals, support surface, seat height and service access must also match.
Are Chengda T101, T115 or T120 confirmed compatible with Geberit, TOTO or another third-party carrier?
No such compatibility is claimed here. Each Chengda bowl must be checked against the exact current drawing, connection set and installation instructions for the named carrier, followed by a physical mock-up and flush test.
How should wall-hung toilet seat height be measured?
Measure vertically from the finished floor to the top of the installed seat. Include floor finishes, ceramic rim position and the approved seat thickness; do not use the bare ceramic body height as the finished seat height.
Why does finished wall thickness matter?
Board, waterproofing, adhesive and tile establish the final wall face. They change connector cut lengths, rod projection, pan-to-wall contact and total structural-wall-to-front room loss.
What should a compatibility mock-up test?
It should verify dry fit, wall contact, seat height, projection, inlet and waste seals, repeated flush performance, leakage, plate removal, service reach, seat operation and the exact model and revision records.