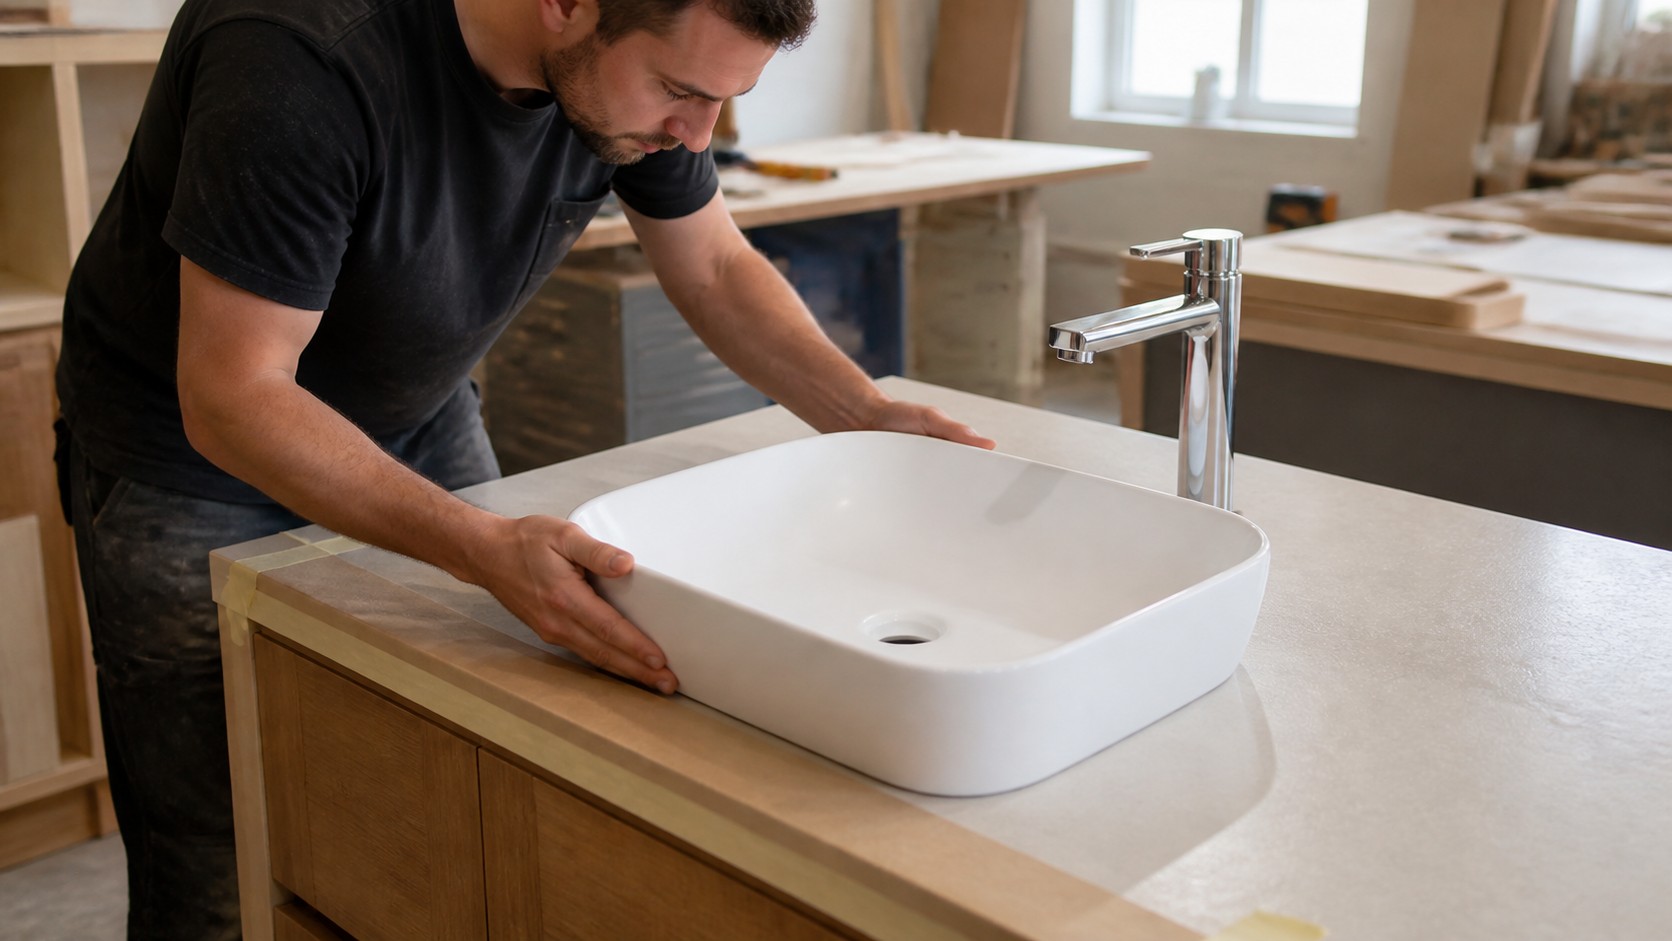
Learning how to install a vessel sink is not simply a matter of drilling one hole and tightening a drain. The ceramic, countertop, faucet, waste, trap, cabinet and finished user height form one system. This guide explains the correct approval sequence for an above-counter ceramic basin while keeping model-specific cutout size, support, hardware, sealant and tightening requirements with the current manufacturer instructions.
Key takeaways
- Do not cut from a web dimension: obtain the current model template or approved drawing.
- Dry-fit the whole assembly: prove faucet reach, drain path, cabinet access and cleaning clearance first.
- Test before handover: check every joint under repeated fill, drain and splash conditions.
01 BEFORE STARTING
What must be identified before installing a vessel sink?
Confirm the exact basin model and revision, then collect the current installation sheet, cutout template, faucet specification, drain instructions, countertop material requirements and vanity drawing. Record whether the basin has a faucet deck, faucet hole and overflow. These facts change the plumbing package and layout. Do not select fittings by a photograph or by assuming that two similar ceramic bowls share the same base.
Inspect the actual sample for shipping damage, rocking, glaze at the contact area and the position of every opening. Ceramic dimensions and flatness are controlled by stated tolerances, so the final support and seal must follow the supplier's instructions. Shut off water, protect the room and use a qualified trade where local rules require plumbing, stone cutting, electrical isolation or warranty-controlled work.
02 SURVEY & LAYOUT
How do you position a vessel sink on the countertop?
Set the real basin and faucet on the unfinished or protected top. Check front and rear counter margins, backsplash, mirror, side walls, soap space and cleaning access around the base. Put hands into the bowl at normal standing position and verify that the finished rim will be comfortable. A tall vessel sink on a standard vanity can become too high, so calculate the complete assembly with the countertop basin height guide.
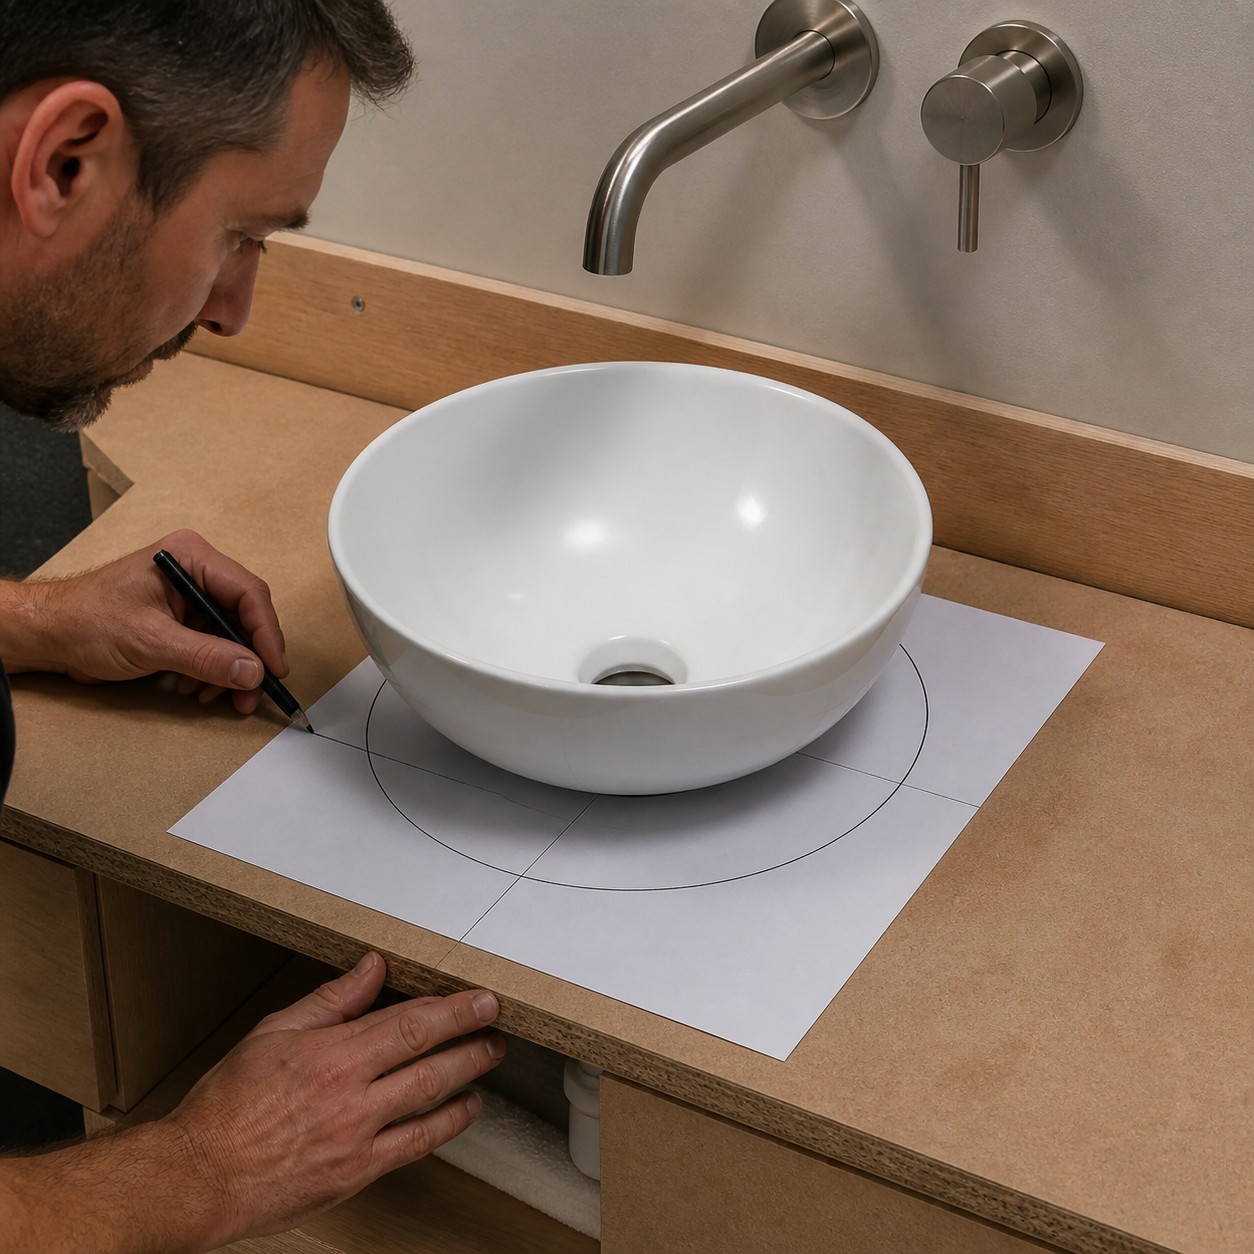
Align the faucet stream with the intended landing zone, not merely the geometric centre of the rim. For a wall-mounted faucet, confirm the finished wall build-up and service access. For a deck faucet, reserve its base, hole and fastening zone. Below the top, mark the ceramic drain axis, countertop opening, drain body, tailpiece, trap and drawer clearances. Only after all top-side and underside checks agree should the template be fixed in place.
03 TEMPLATE CONTROL
What size hole do you cut for a vessel sink?
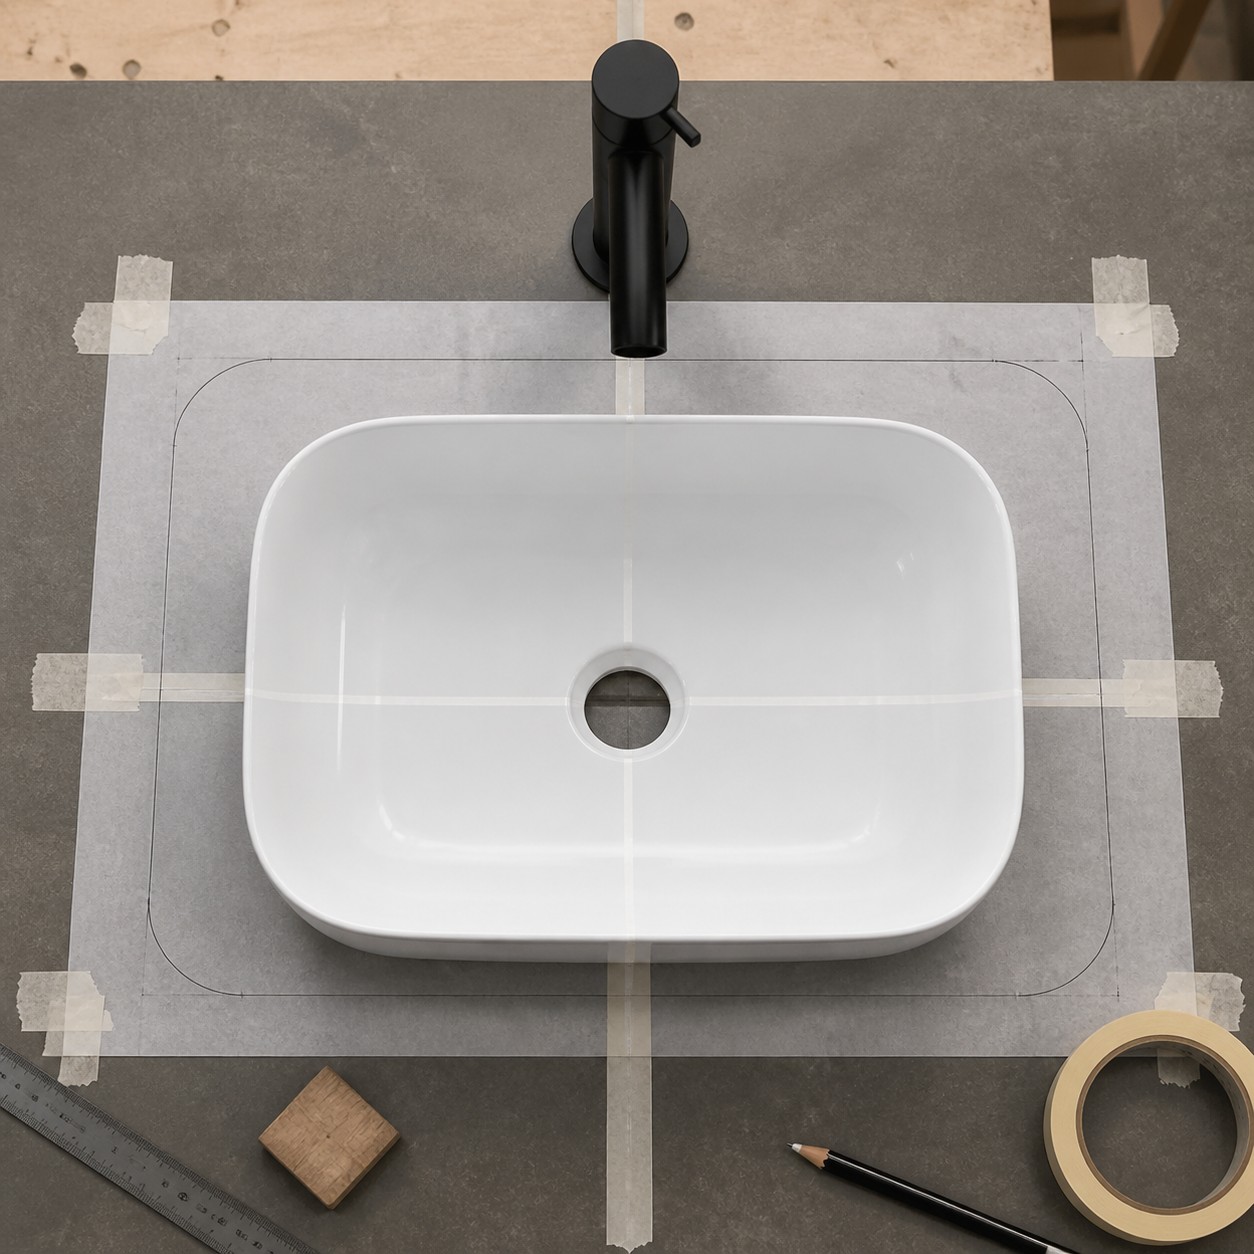
There is no universal vessel sink countertop cutout. Some models need only a drain passage; others have a recessed base, support ring, concealed fastening or larger model-specific opening. The ceramic drain-opening value is also not automatically the countertop-hole diameter. Use the current template or an approved dimensioned drawing for the exact basin and mounting method.
Verify template scale by its stated check dimension, establish centre lines and compare the paper opening with the real basin and drain assembly. If the file was printed, make sure no printer scaling occurred. Obtain written clarification for a missing or conflicting template; do not trace an approximate internet image or copy a previous model's hole. This single pause is cheaper than replacing stone, solid surface or a finished vanity.
04 COUNTERTOP WORK
How should the countertop opening and support be prepared?
Follow the countertop fabricator's rules for drilling, edge distance, reinforcement, dust control and personal protection. Stone, engineered stone, solid surface, timber and laminate need different tools and edge treatments. Support the top fully and confirm that cutting will not strike a rail, fastener, pipe or drawer. A professional fabricator should make openings where the material warranty or breakage risk demands it.
After cutting, deburr or finish the edge as specified and keep moisture away from vulnerable cores. Vacuum the area, clean the mating surfaces and dry-fit again. The basin should sit in its designed support condition without being forced flat by the drain. If it rocks, stops on the opening, loads one corner or leaves an unexplained gap, correct the interface with the manufacturer before applying sealant.
05 FITTINGS
When are the faucet and vessel sink drain installed?
Install the faucet at the stage that preserves tool access—often before the basin blocks the underside—but follow the faucet and vanity sequence. Use the correct gaskets and fastening hardware, keep supply hoses free of sharp bends and leave serviceable shutoff valves. If the basin has a factory faucet hole, confirm that the selected faucet body and fixing package fit the current stated hole data; a no-hole basin requires a deck or wall solution.
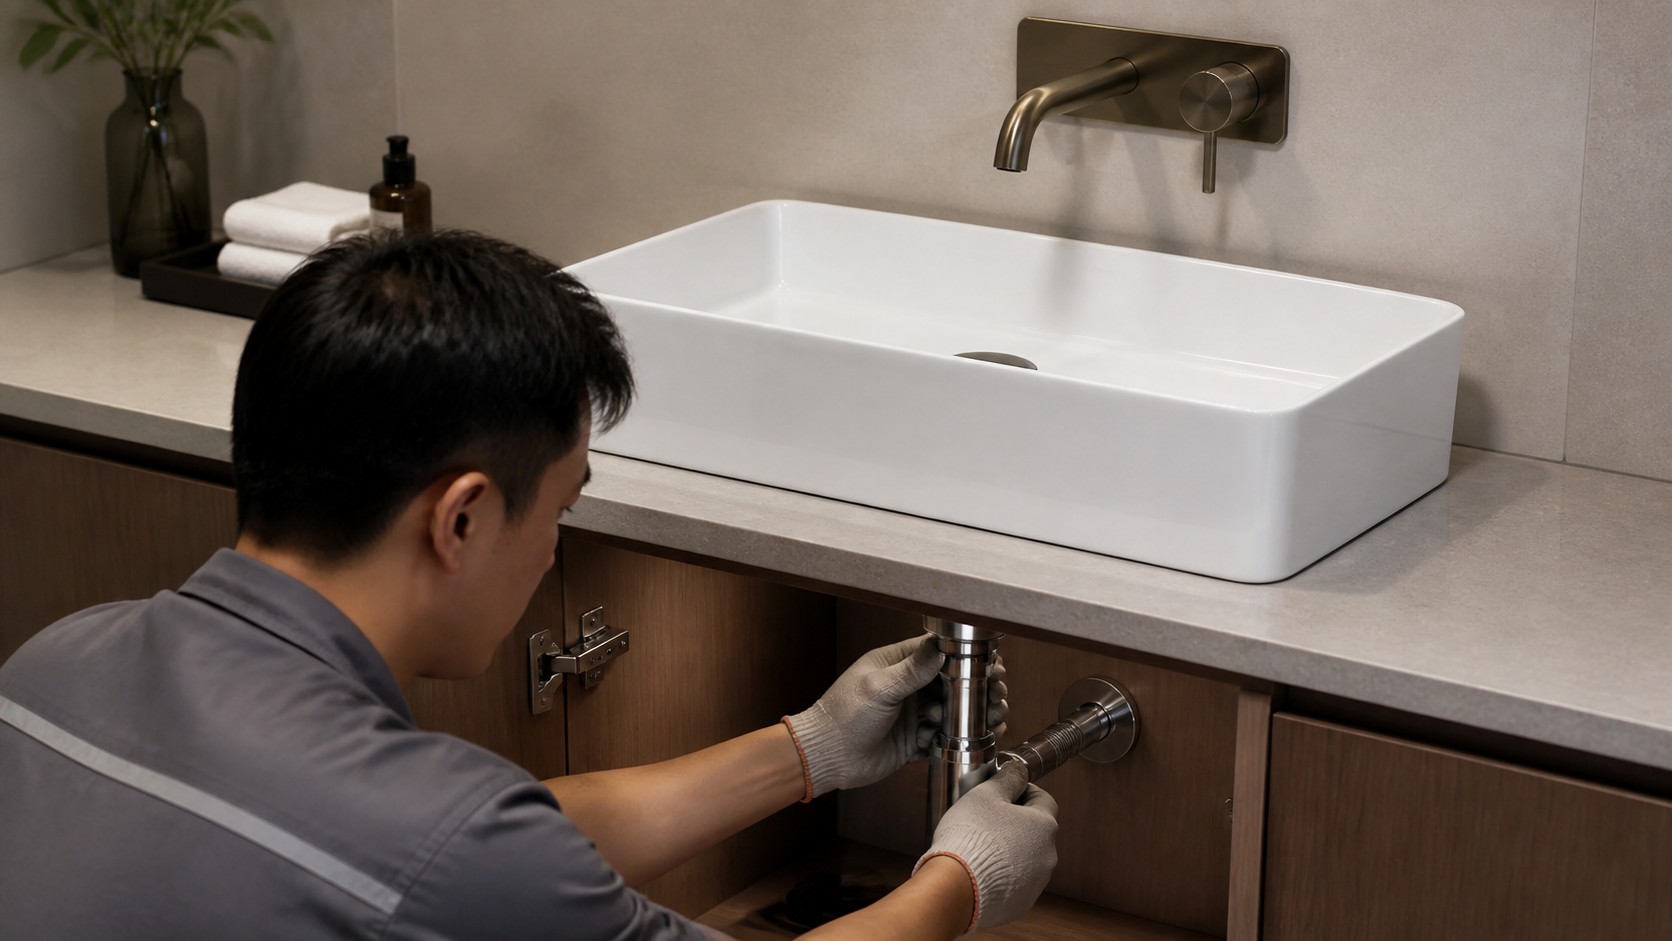
Match the drain to the basin's overflow configuration and the current opening specification. Assemble washers, seals and nuts in the order supplied by the drain maker. Do not substitute putty or silicone where it may attack the finish or violate instructions, and do not use the drain nut as a clamp to reshape ceramic. The separate vessel sink drain guide explains why ceramic opening, countertop cutout, waste body and pipe connection are different dimensions.
06 SETTING THE BASIN
How is a ceramic vessel sink sealed to the counter?
Use only the sealant and preparation specified for both the basin and countertop. One Kohler vessel model calls for 100% silicone, but that model instruction is not permission to generalise every product. Test compatibility on sensitive stone, clean away dust and release agents, and keep the drain path clear. Apply a controlled bead at the intended contact zone rather than filling every visible space.
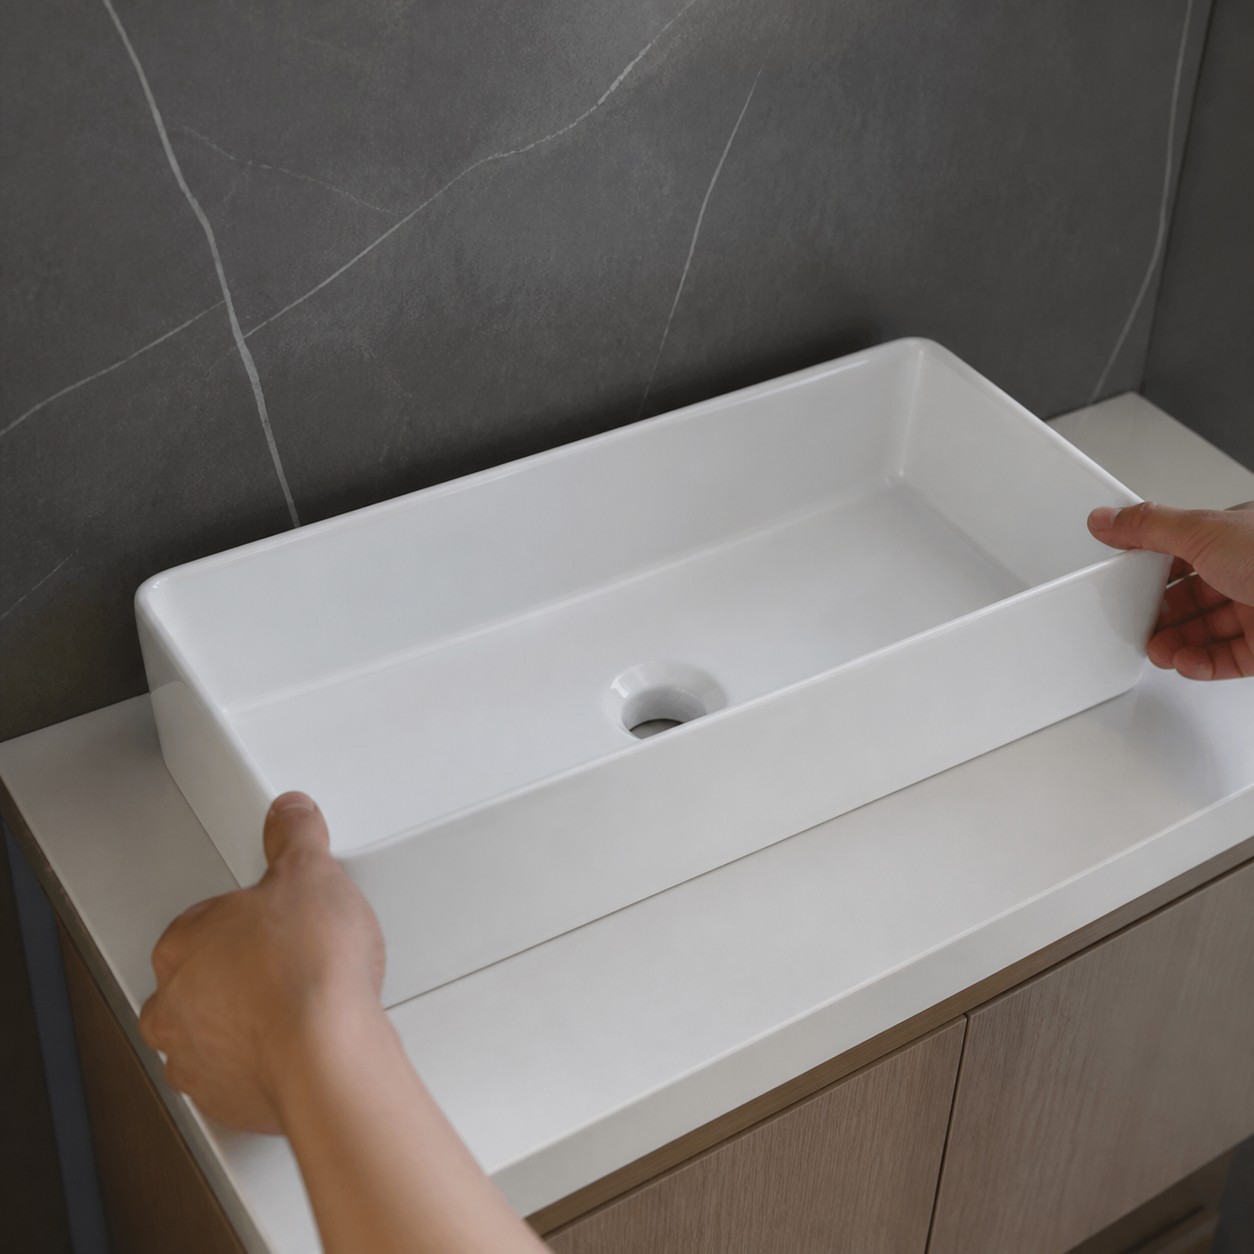
Lower the basin without twisting it out of alignment, verify the drain axis and hold the product stable while the seal cures. Remove excess sealant using an approved cleaner before it skins, leaving a neat hygienic junction that can be inspected and maintained. Do not load, fill or connect the assembly until the stated cure condition is achieved.
07 CONNECTION & TEST
How do you connect and leak-test the vessel sink?
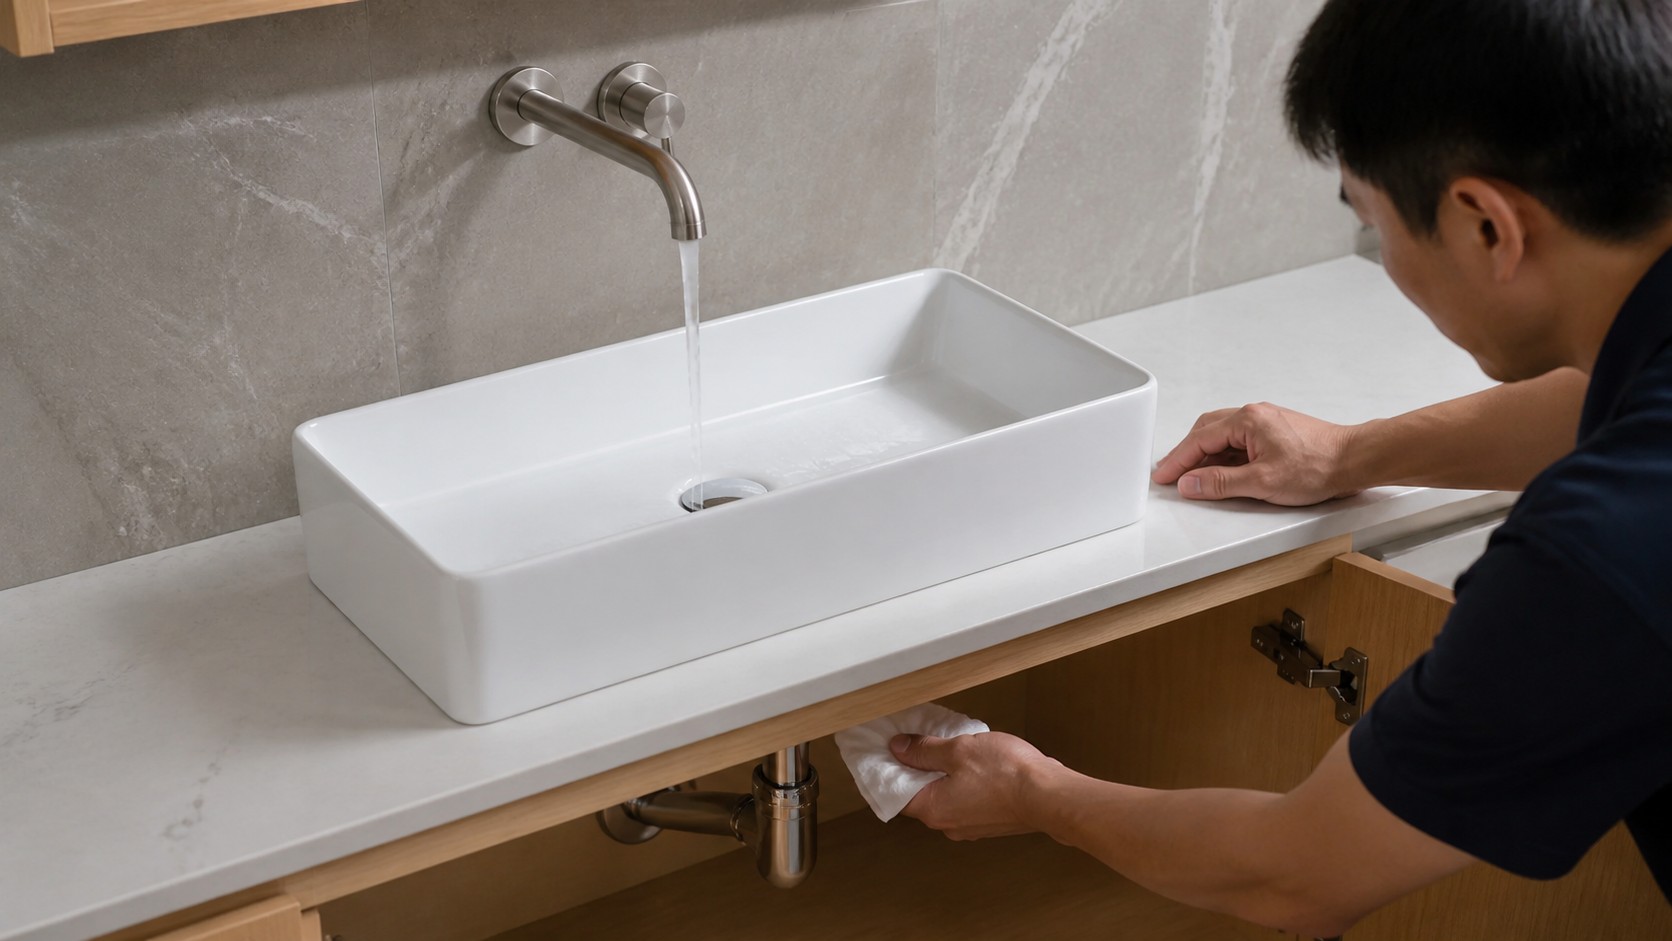
Connect the tailpiece and trap without pulling the drain body sideways. Maintain the required fall and water seal, support pipework independently and check that drawers, shelves and doors move freely. Open the shutoff valves slowly, purge debris as the faucet maker directs and inspect supply connections with dry tissue before introducing a full flow.
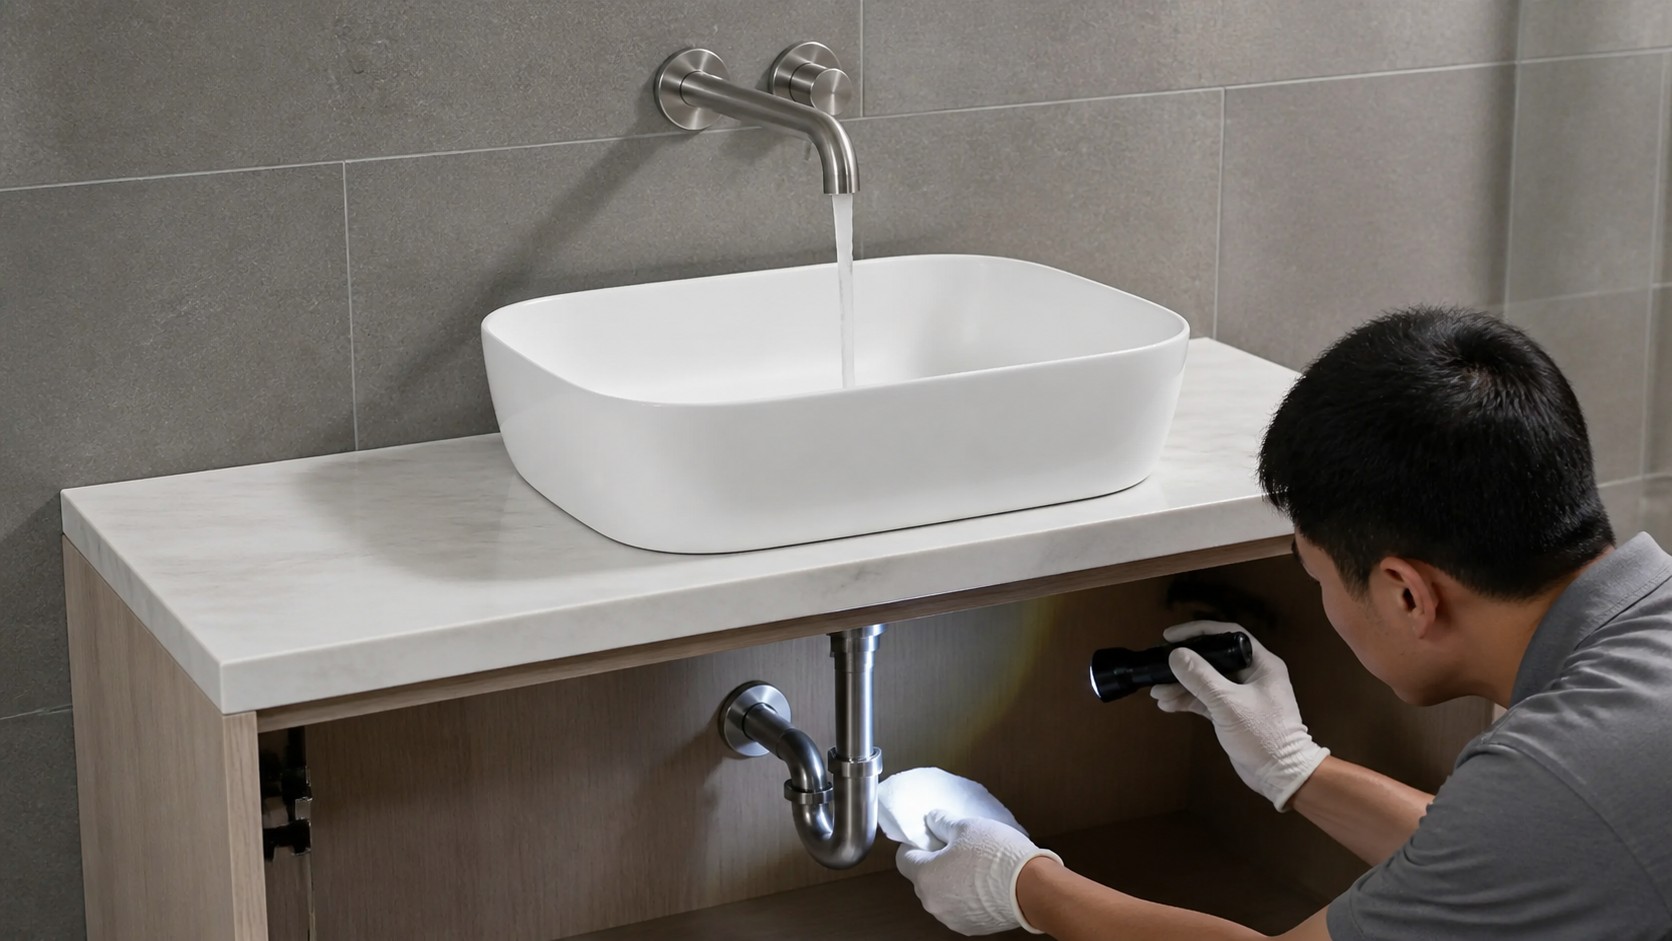
Test in stages: low flow, normal hand-washing flow, repeated drain cycles and, where the product permits, a controlled fill. Observe the drain flange, basin underside, countertop junction, trap and supply connections during the test and again several minutes later. Confirm stream landing and splash behaviour. An overflow is a limited secondary path, not a reason to leave water unattended or skip the primary drain test.
08 HANDOVER
What should be recorded after vessel sink installation?
Photograph the finished top, basin base, faucet alignment and cabinet plumbing before closing access. Retain the product model, approved template, drain and faucet references, sealant batch or product, test result and care instructions. For repeated hotel or apartment rooms, make the accepted mock-up the installation benchmark and inspect the first units against it.
Give the owner realistic care guidance: avoid impact, harsh abrasives and uncontrolled thermal shock; wipe the counter-to-basin junction; report movement or leaks promptly. Never conceal a rocking basin or weeping drain with extra surface sealant. A good vessel sink installation remains dry, stable, cleanable and serviceable after the installer has left—not just attractive in the completion photograph.
FAQ COMMON QUESTIONS
Frequently asked questions
Can I install a vessel sink myself?
Some simple replacements may suit an experienced person, but stone cutting, plumbing rules, warranties and hidden services may require qualified trades. Follow local requirements and current instructions.
What size countertop hole does a vessel sink need?
There is no universal size. Use the current template or approved drawing for the exact basin and mounting method.
Does a vessel sink need a mounting ring?
Not always. Some models use one; others sit on a designed base or use different support. Follow the selected model's installation instructions.
Should I silicone under a vessel sink?
Use only the specified compatible sealant and contact location. A named manufacturer's silicone instruction applies to that model, not automatically to every basin.
How tight should the vessel sink drain be?
Follow the drain and basin instructions. Tighten evenly enough to seal without using the waste nut to force or distort ceramic.
When can I use the sink after installation?
After the specified sealant cure and a successful staged leak, drainage and splash test.