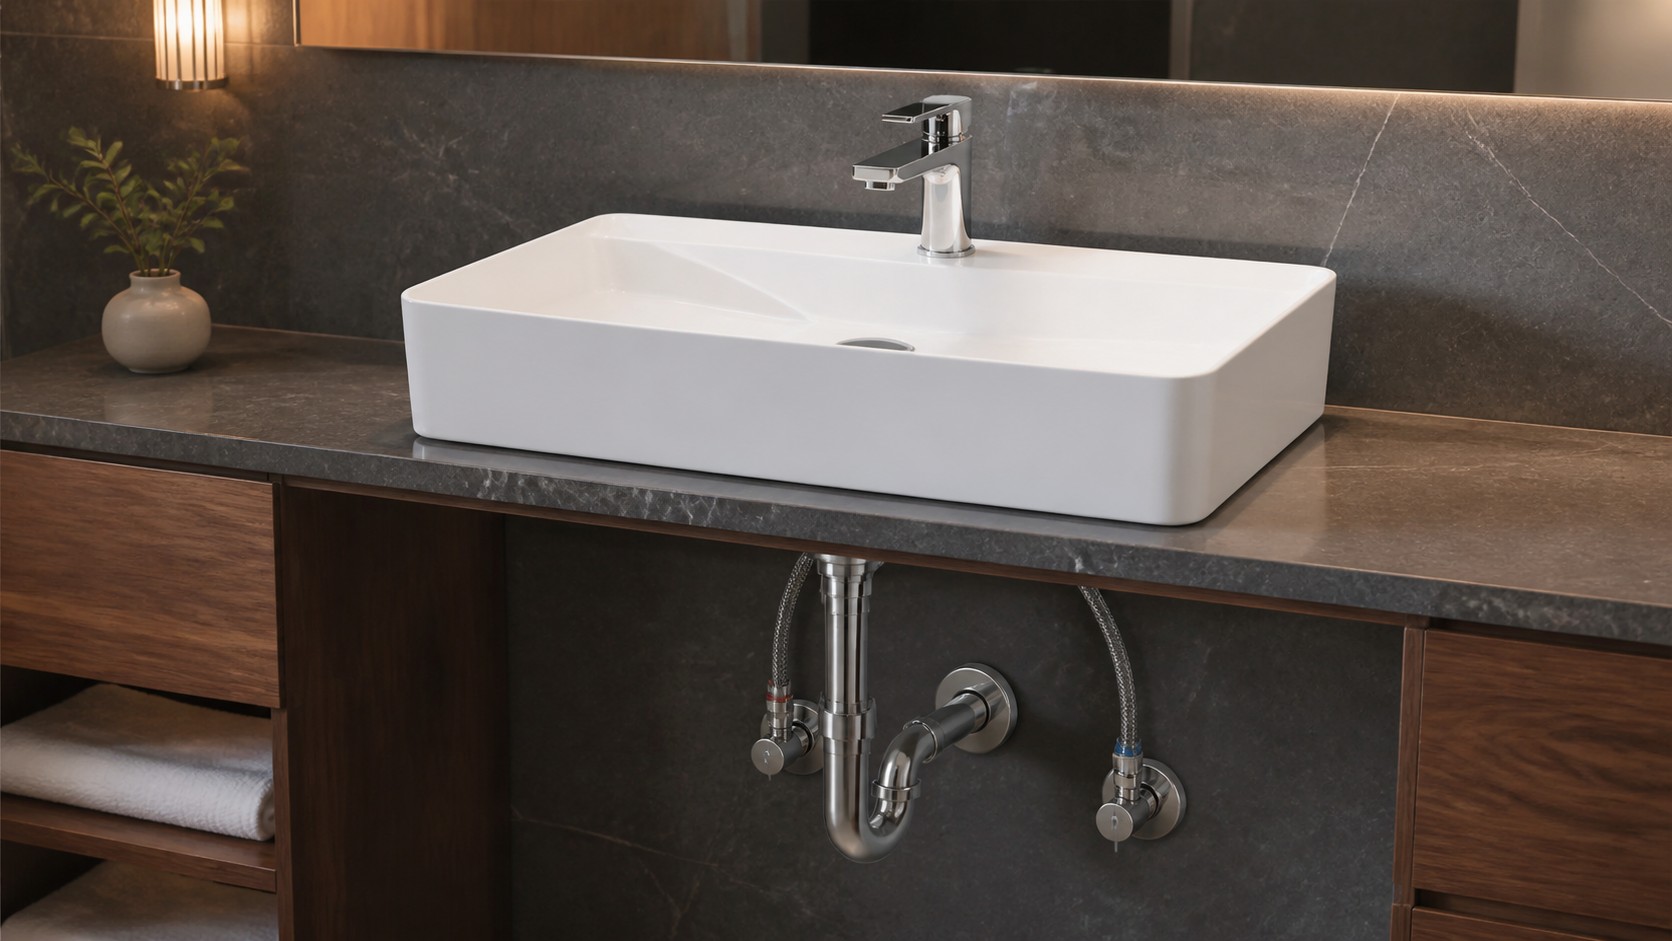
A reliable vessel sink plumbing rough-in is not a pair of pipes placed at a memorized height. The finished basin rim sits above the countertop, while the waste, trap, hot and cold supplies, faucet mounting, vanity structure and wall finish occupy different planes. If one trade works from a generic diagram, the trap may hit a drawer, the faucet hoses may not reach, or the drain may require an awkward offset.
The safe method is to coordinate the exact basin, faucet, waste, counter, cabinet and local plumbing design before the wall is closed or the vanity is manufactured. Manufacturer roughing-in sheets are valuable, but their dimensions belong to the named product and installation shown. This guide explains the decisions and approval sequence without presenting a universal rough-in height that may be wrong for the room.
Key takeaways
- No universal height: Set drain and supply locations from the approved fixture package, finished datums and locally adopted plumbing rules.
- Coordinate above and below: The basin, faucet and counter must align with the tailpiece, trap, valves, drawers and vent route.
- Prove the assembly: Use a full-size mock-up, dry fit and controlled water test before repeating the detail across a project.
01 START WITH THE SYSTEM
Is there a standard vessel sink rough-in height?
There is no single rough-in height that works for every vessel sink. The final drain centre and supply positions change with finished floor level, vanity height, countertop thickness, basin height, drain body, tailpiece, trap geometry, wall construction and accessible-use requirements. Even two basins with similar outside dimensions can use different base footprints or waste assemblies. A number copied from a forum cannot control all of those interfaces.
Official Kohler roughing-in sheets illustrate the point: the VOX K-2661 and Botticelli K-2333-1 show different named products, faucet conditions and installation layouts. Their dimensions are useful for those products, not a global rule for Chengda or another model. Establish the layout from the selected product drawings, the project plumbing design and the authority having jurisdiction. The vessel sink dimensions guide explains why overall basin size alone is not enough.
02 FREEZE THE INPUTS
Which products must be selected before rough-in?
Freeze a control set before setting pipe centres: basin model and revision, vanity and countertop build-up, faucet manufacturer and model, waste type, overflow configuration, tailpiece, trap, shutoff valves and intended wall finish. Record whether the faucet mounts on the basin, countertop or wall. Also identify the counter cutout or service passage, because a ceramic drain opening is not automatically the countertop hole.
Use current dimensioned documents and production-intent samples. A faucet specification may define hole size, maximum deck thickness, hose length and connection type; a basin sheet may define rim height, drain opening and a model-specific template. Moen's Flara S6982 vessel faucet, for example, lists 24-inch flexible supplies with 3/8-inch compression fittings, but that does not make those details universal. Build a schedule that names every component instead of writing only “standard faucet” or “standard pop-up.”
03 USE FINISHED DATUMS
Which finished datums should control the layout?
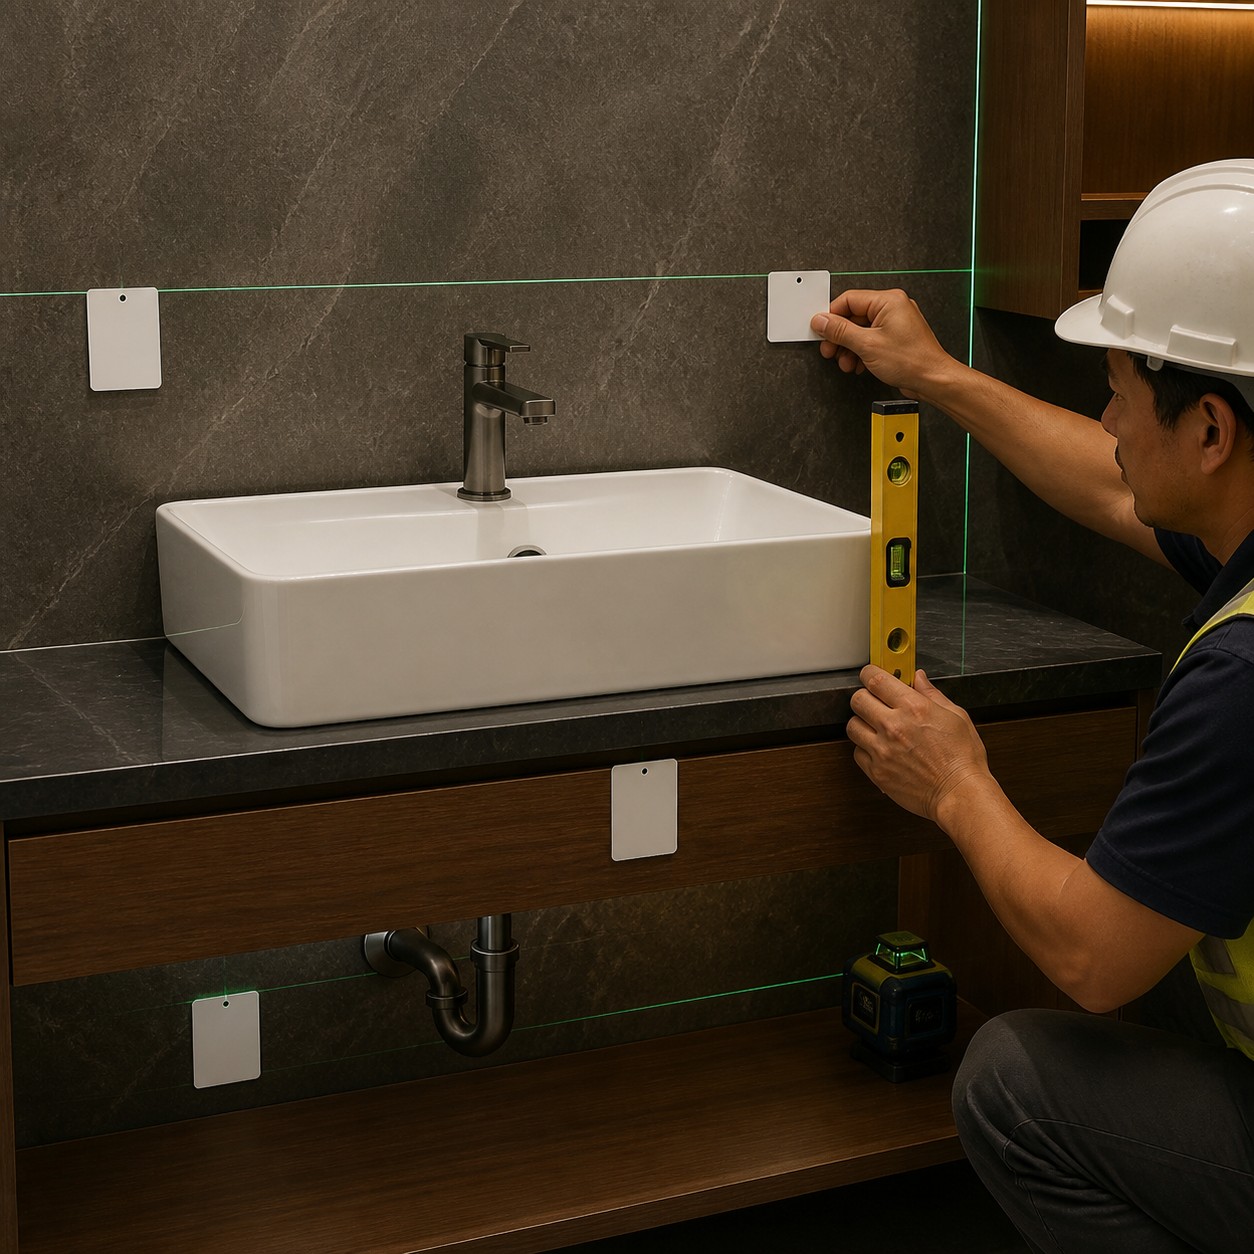
Dimension from finished floor and finished wall, not unfinished slab, open studs or an assumed tile thickness. Show the finished countertop elevation, basin drain centreline, faucet centreline and cabinet internal boundaries on one coordinated elevation. Include board, waterproofing where specified, adhesive, tile or stone, because wall build-up can move a wall-mounted spout or leave a deck faucet too close to the backsplash.
The comfortable final rim height is a separate design decision from the pipe rough-in. Add the vanity, counter and above-counter basin heights, then review users and accessibility obligations using the countertop basin height and faucet guide. Once the approved finished rim and counter are fixed, work backward through the exact waste assembly and cabinet. Do not force the user height to suit pipes installed from a generic sketch.
04 DRAINAGE PATH
How should the drain, trap and vent be planned?
Trace the water path from the ceramic outlet through the approved pop-up or waste, tailpiece, trap adapter, trap, fixture drain and vented drainage system. Match an overflow basin to a compatible overflow waste and a no-overflow basin to the approved no-overflow arrangement. The vessel sink drain guide separates the ceramic opening, waste body, flange, counter passage and downstream pipe connection so one dimension is not misused for another.
The trap must sit without being pulled sideways by the wall connection, remain accessible, and fit inside the cabinet without colliding with drawers or shelves. Vent location, pipe size, slope, trap-to-vent distance and trap seal are governed by the locally adopted code and the project plumber's design. ICC provisions protect trap seals through venting and limit arrangements such as S-traps; they do not create a universal wall stub-out height. Avoid a deep or horizontal offset merely to rescue an uncoordinated cabinet.
05 HOT & COLD
Where should hot and cold supplies be located?
Locate hot and cold supplies from the exact faucet connections, hose sweep, shutoff-valve bodies and usable cabinet zone. Confirm connection size, included hose length, minimum bend radius and whether extensions are permitted by the faucet manufacturer. Keep hoses away from sharp cabinet edges, drawer hardware and the trap. Provide enough separation for tools and labels without creating a layout that is impossible to conceal or service.
Accessible shutoff valves are more important than visual symmetry. Applicable codes may require fixture shutoffs and ready access, while project standards may add identification or branch-isolation rules. Coordinate backing and sleeves before wall closure, pressure-test concealed supply work as required, and cap it cleanly until fit-out. Do not extend a short faucet hose with an improvised chain of adapters; select an approved connection strategy and record it in the plumbing schedule.
06 FAUCET COORDINATION
How does faucet type change the rough-in?
A basin-mounted faucet uses the ceramic deck and its verified hole. A countertop faucet requires a clear deck zone, suitable thickness, underside fastening access and a spout that clears the vessel rim. A wall-mounted faucet moves the valve and spout rough-in into the wall and makes finished-wall thickness critical. In all three cases, the stream should land inside the useful bowl area rather than striking a steep wall or the drain cap.
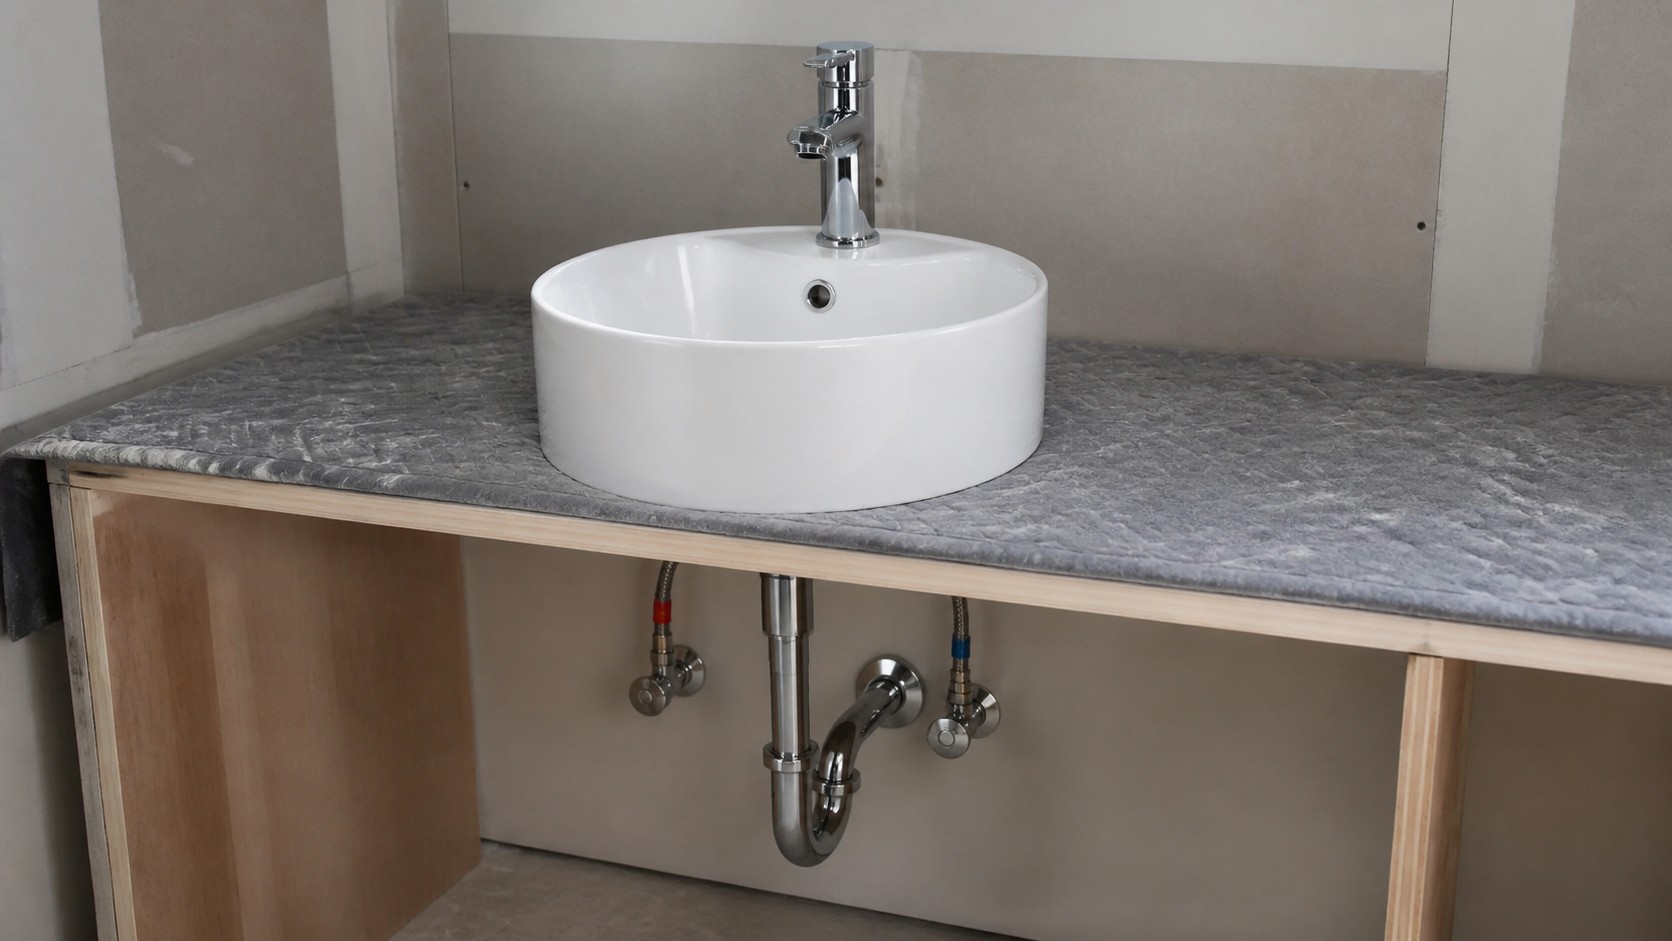
Use the faucet specification and the basin drawing together. Kohler's VOX sheet directs the designer to choose a faucet with adequate clearance and a stream aimed toward the sink centre; other named products publish their own spout requirements. These are model-specific checks, not a universal reach number. Preserve handle travel, aerator removal, cartridge service and wall-finish clearance. Then verify actual flow using the production-intent faucet, not an approximate showroom model.
07 CABINET & SERVICE
How do vanity storage and service access affect plumbing?
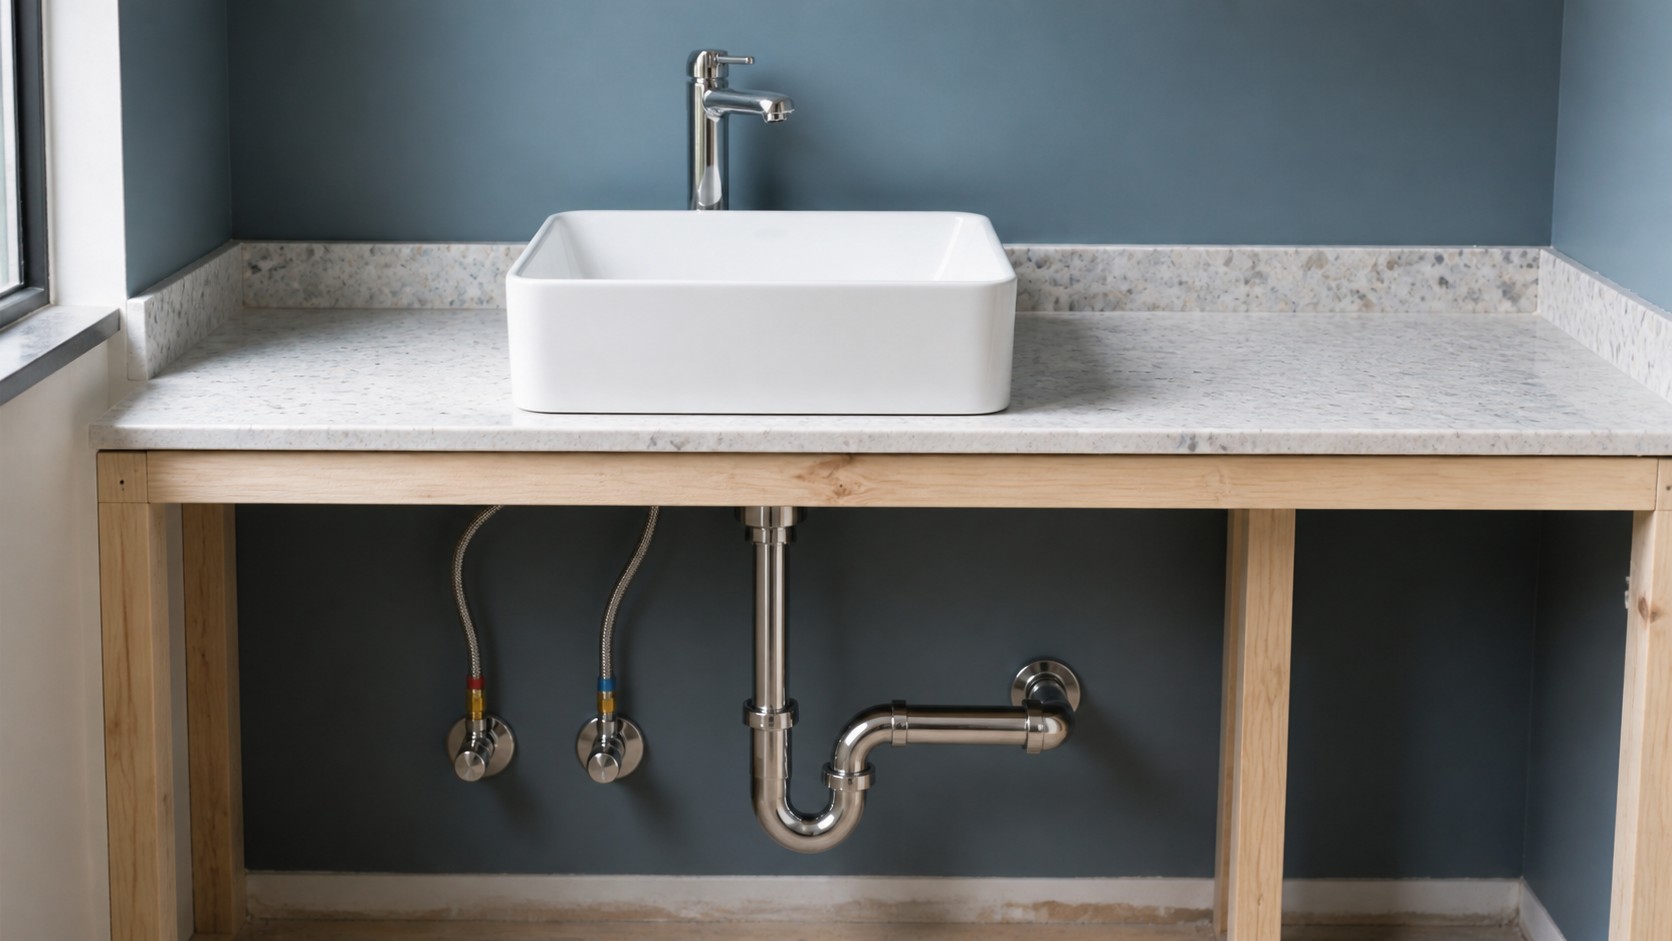
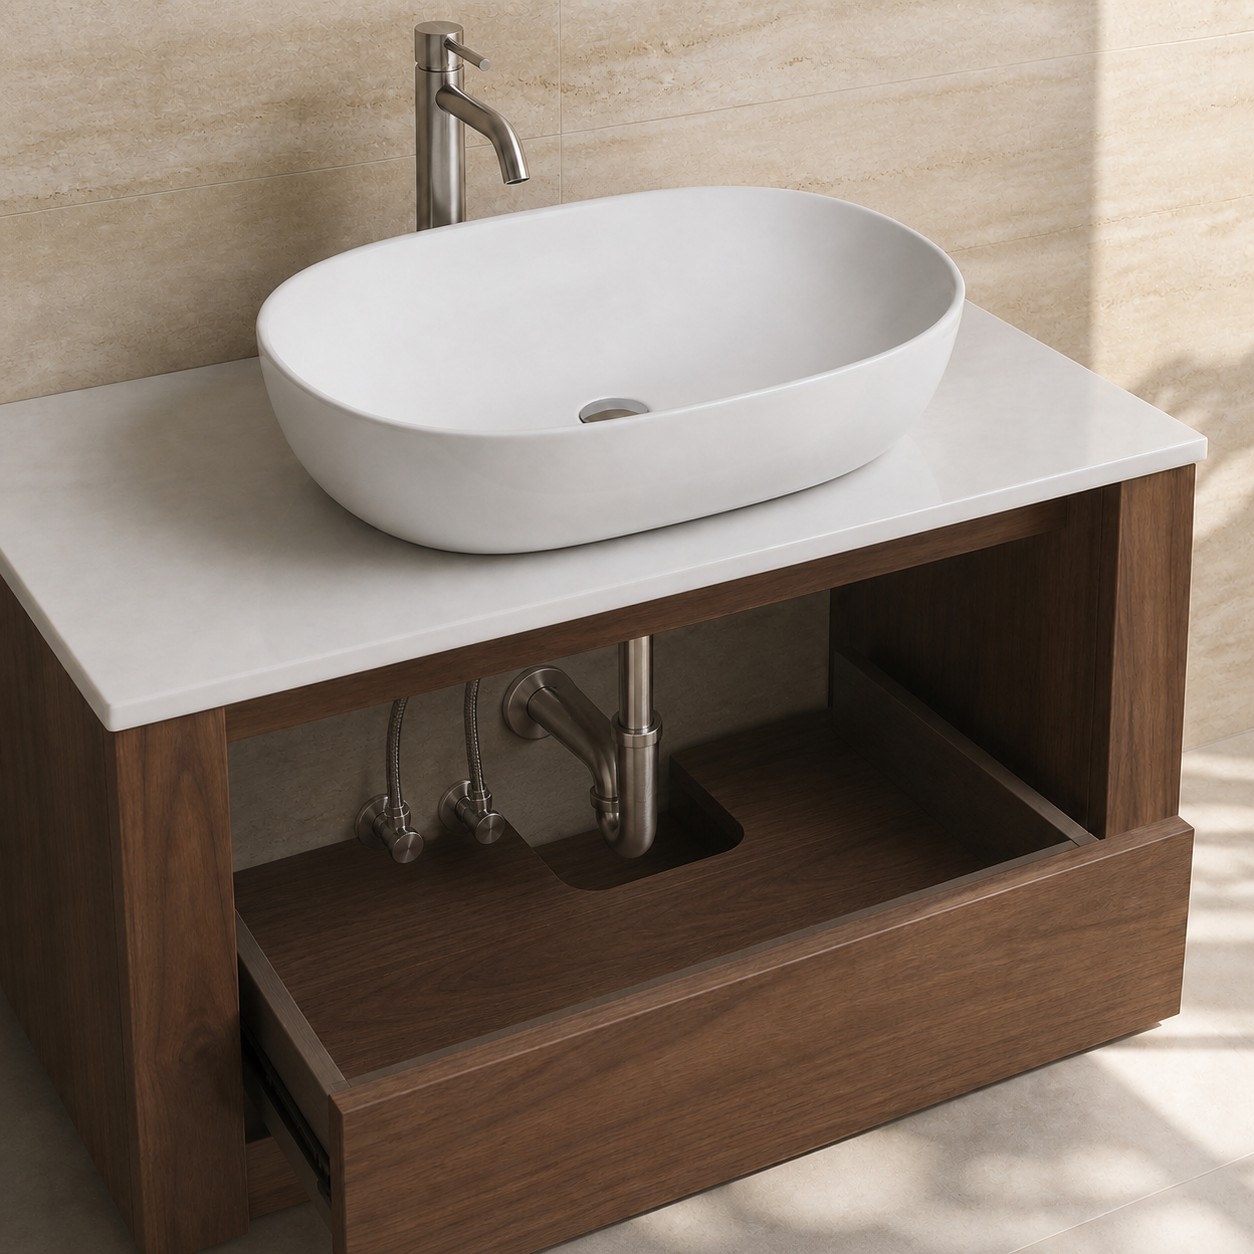
Draw the cabinet interior, not just its outside box. Mark drawer backs, runners, shelves, structural rails, power supplies, lighting drivers and any removable panels. Reserve one continuous service zone from the basin outlet to the wall drain and around both shutoff valves. If storage depends on a U-shaped drawer, approve its clear dimensions against the real trap and valves rather than a simplified plumbing symbol.
Service access must remain after the countertop and basin are installed. A technician should be able to close each valve, remove the trap, reach the drain nut and inspect joints without dismantling the whole vanity. For accessible installations, also coordinate knee and toe space and protect exposed hot-water and drain surfaces as required. Easy cleaning around the fixture is an installation requirement in the ICC framework and a practical reason not to crowd the basin against the wall or cabinet side.
08 MOCK-UP & RELEASE
What should be checked before walls and cabinets are released?
Build a full-size coordinated mock-up using the intended basin, faucet, waste, counter thickness and cabinet interior. Dry-fit the tailpiece and trap to the proposed wall connection; connect the actual faucet hoses to the intended valves. Check level, rim height, spout clearance, stream landing, stopper operation, overflow compatibility where present, drawer travel, cleaning access and tool access. The ceramic vessel sink installation guide provides the installation sequence that follows rough-in approval.
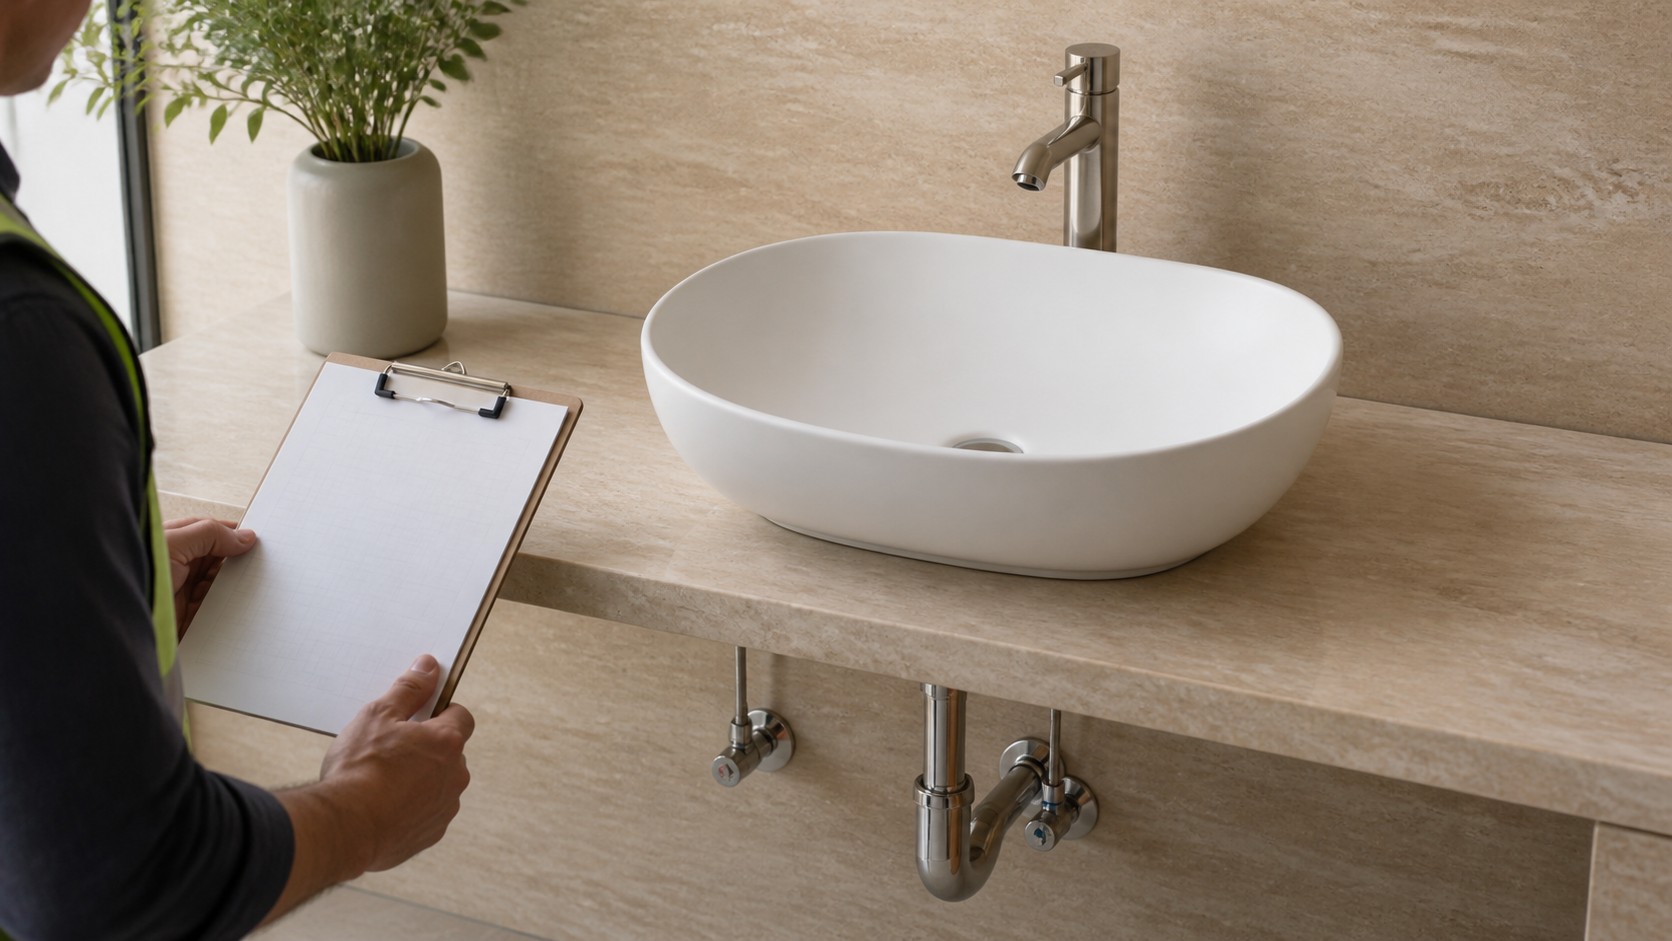
After connections are complete, test low and normal flow, operate the stopper repeatedly, inspect every joint immediately and again after standing, and record the result. Photograph the approved open-cabinet arrangement with a scale reference and attach the current drawing revisions. Release wall closure, stone cutting and cabinet production only when the architect, plumber, cabinet maker and fixture supplier are working from the same signed set. That record—not a generic rough-in-height chart—is the repeatable project standard.
FAQ COMMON QUESTIONS
Frequently asked questions
What is the standard drain rough-in height for a vessel sink?
There is no universal height. Determine it from the finished floor, vanity, counter, basin, waste, trap, cabinet and locally compliant plumbing design.
Should the drain be centred behind a vessel sink?
Only if the selected basin outlet, cabinet and trap route support that layout. Some basins or vanities require an offset, which must be shown on the coordinated drawing.
Can vessel sink water lines use a standard spacing?
Do not rely on generic spacing. Place supplies and accessible shutoffs from the exact faucet hoses, connections, cabinet hardware and service clearances.
Does a vessel sink need a P-trap and vent?
It needs a code-compliant trapped and vented drainage arrangement. The exact trap, pipe and vent design follows the locally adopted code and project conditions.
Should plumbing be roughed in before the vanity is ordered?
The plumbing and vanity should be coordinated together first. Ordering or roughing in either one from an unverified generic drawing creates avoidable clashes.
What should be included in a vessel sink rough-in drawing?
Show finished datums, basin and faucet models, drain and supply centrelines, counter build-up, cabinet internals, trap and valve service zones, vent route and drawing revisions.